Two more iterations on the battery cover / side skirts
Restomod Day 28 Building
Two more iterations on the battery cover / side skirts
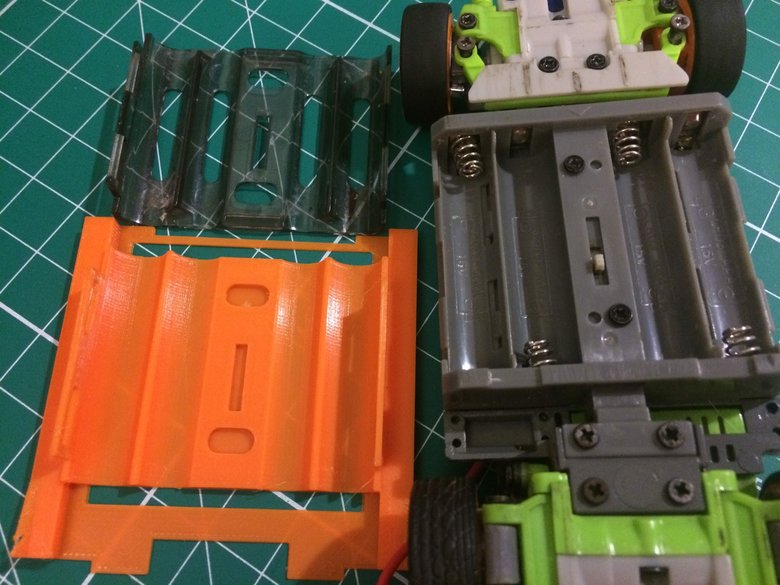
Iterating on designs for a more "aero" replacement battery cover and the rear bumper
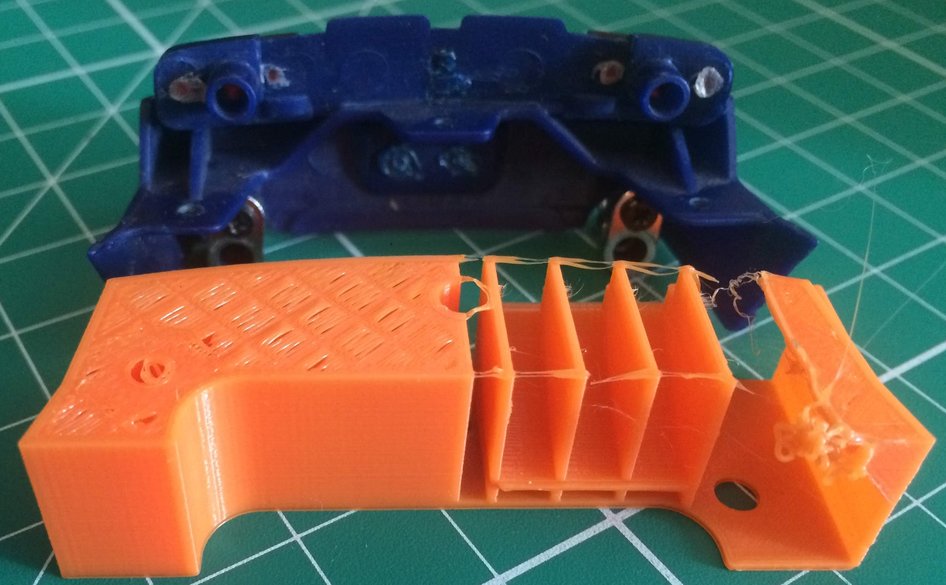
Today was focused on quickly iterating to getting a functional rear bumper designed for extra airflow.

Today was mostly focused on how the rear bumper fits on the body
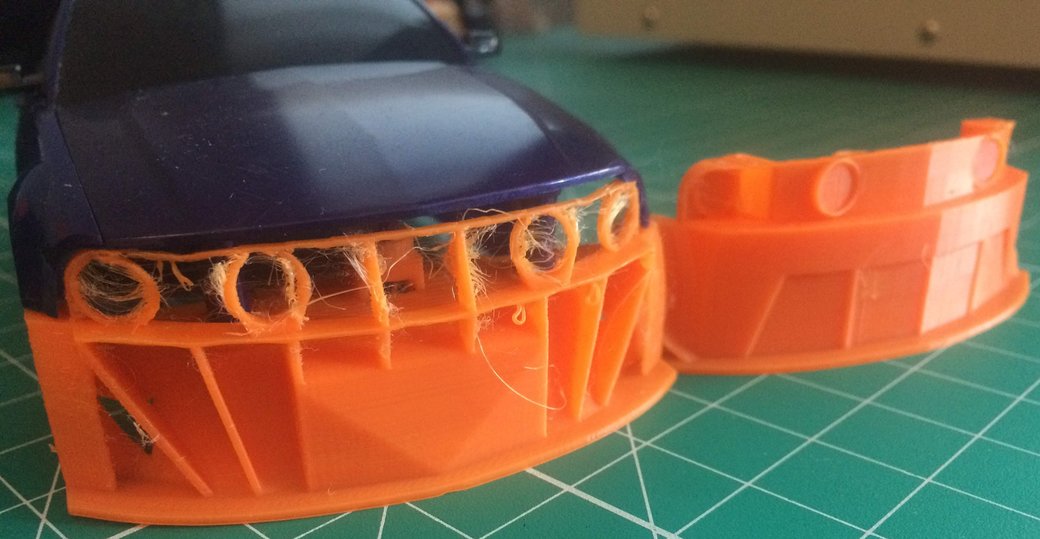
The first order of business for the day was printing the new aero front bumper. The end result was somewhat flimsy and didn't print well, but it's a great start. It's probably the least manufacturable of the part designs by traditional methods so far, making it perfect for 3D printing once the print is dialed in.
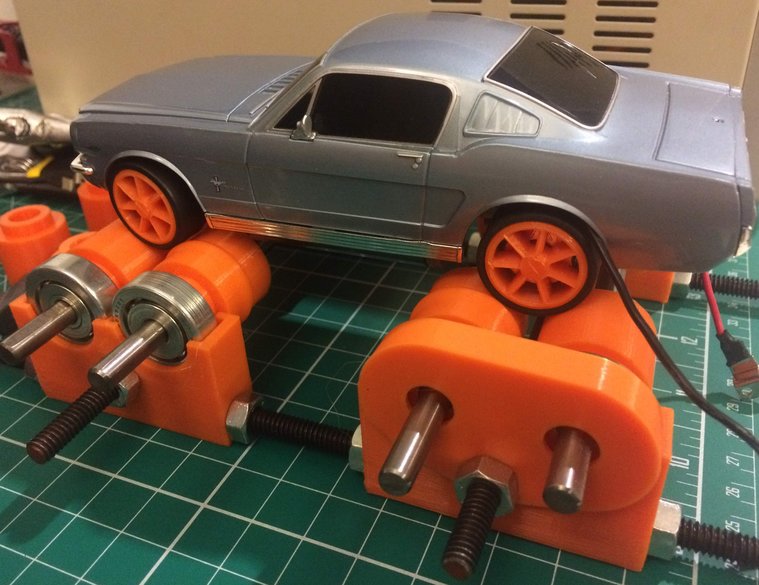
The first round of chassis dyno printing is done. During initial testing I noticed that the car did not track straight, so I added guides to some of the rollers so that the car would be encouraged to remain centered on the dyno and not roll off into the sunset when I wasn't looking. It also makes higher speed testing more boring (in a good way) where the car has less of a chance (but still a chance) to jump off the rails and drag around higher voltage cables.
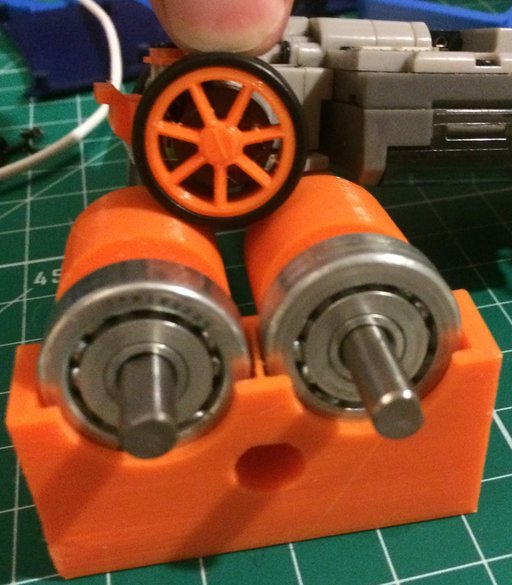
The parts for the full chassis dyno arrived. After an initial print on the rollers and the bearing housing, it looks like the design is mostly ready.
Today was mostly a breaking day. The printed half-shaft design melted itself apart after some high voltage testing for a couple of minutes, so it's going to need a redesign.
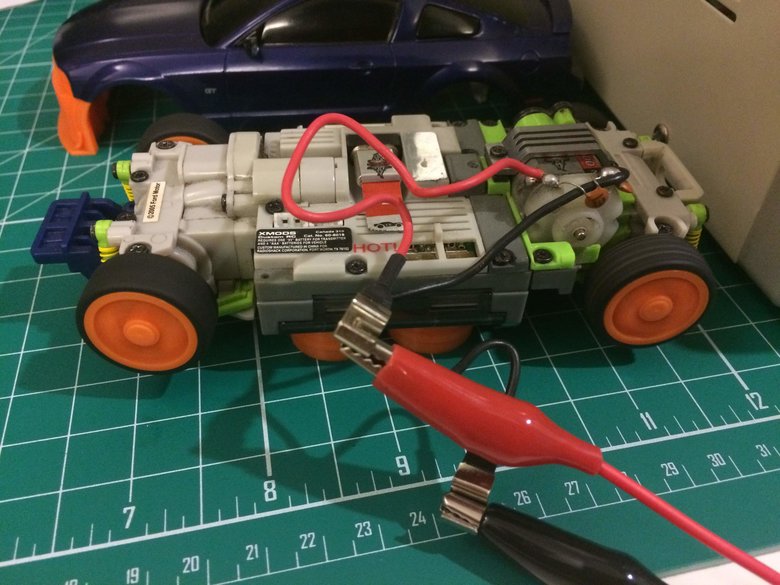
Electronics time! Today I got the bench power supply hooked up to the fully running chassis that lives under the '05 Mustang.
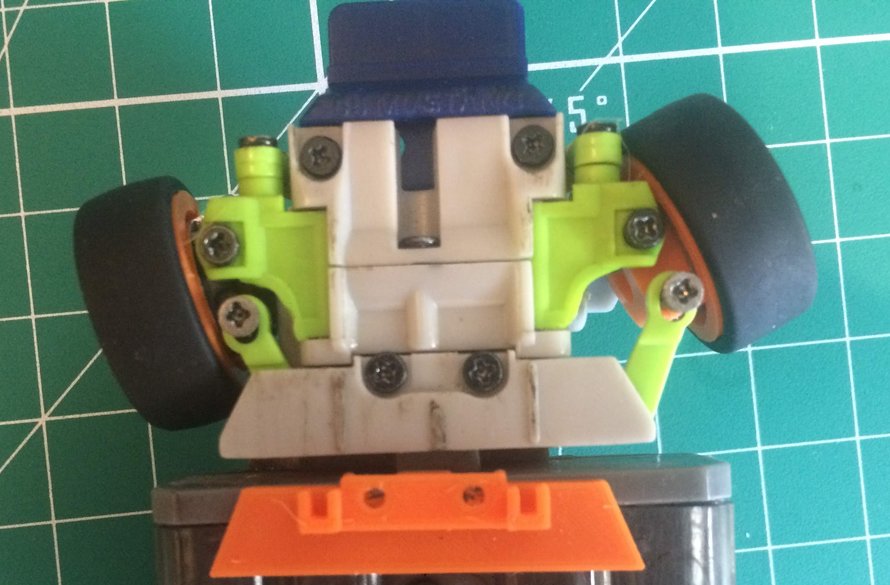
The suspension work continues! The rear design is now printed in a high-shell configuration. This leads to (mostly) nicely aligned filament.
The suspension work continues! The rear design with short arms plastically deformed after the first flex, so I ended up changing to a more complicated design with longer arms. The new design should also allow for equal length and thickness arms on the front and rear designs.
Today focused on simplifying the suspension with a printed design. There's nothing fundamentally wrong with the existing XMods suspension, but I do think there's room for improvement. For example, the existing suspension limits its own range of motion and has relatively poor ground clearance. Also, I've taken it upon myself to replace most of the front clip with printed parts now that I've gone off the deep end and printed the uprights.
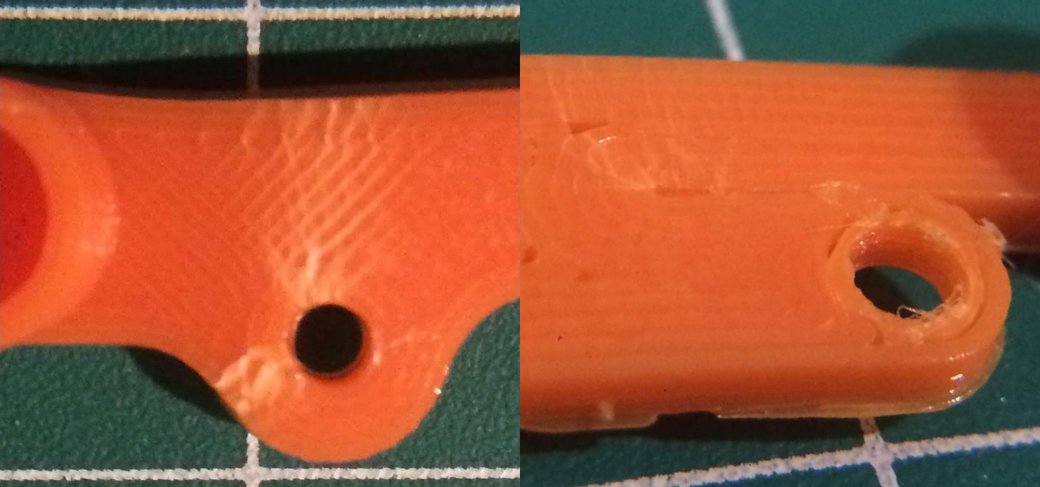
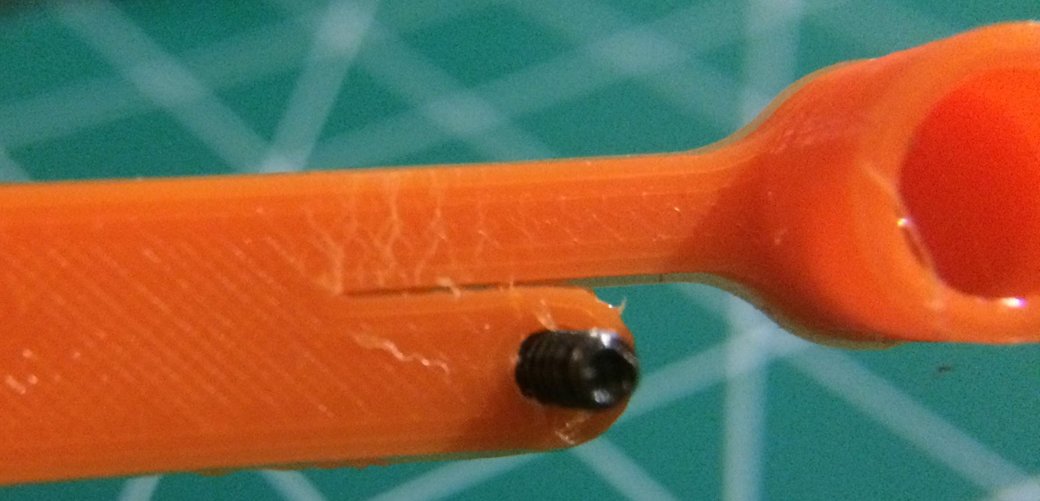
Replacing the skid plate for the steering rack
Photos from Day 15: Printing a new front upright and new axles
Photos from Day 14: A replacement half-shaft and a broken front upright
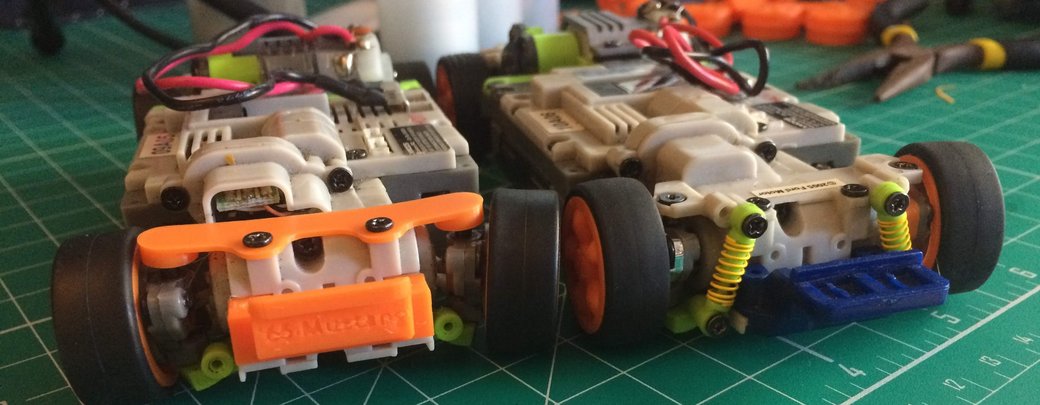
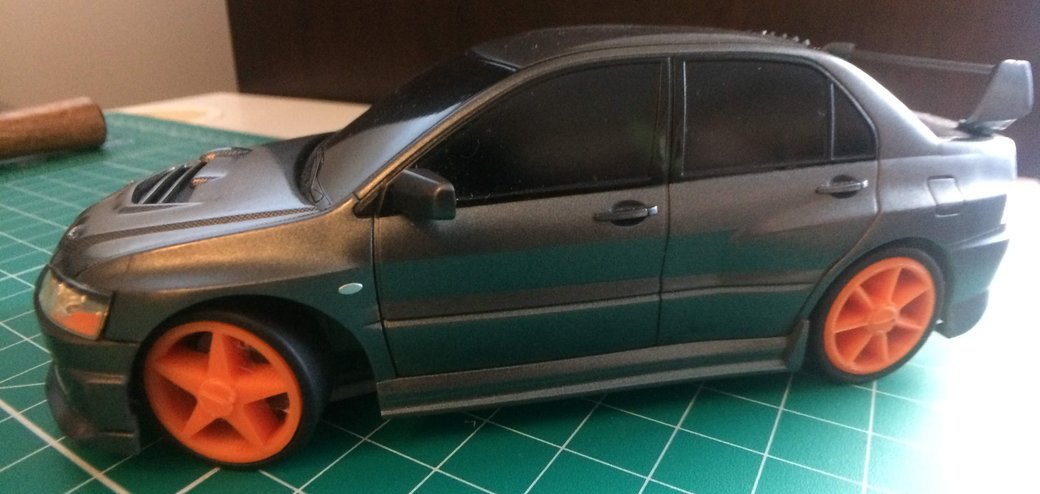
Old Body Style, Next Generation Power and Suspension
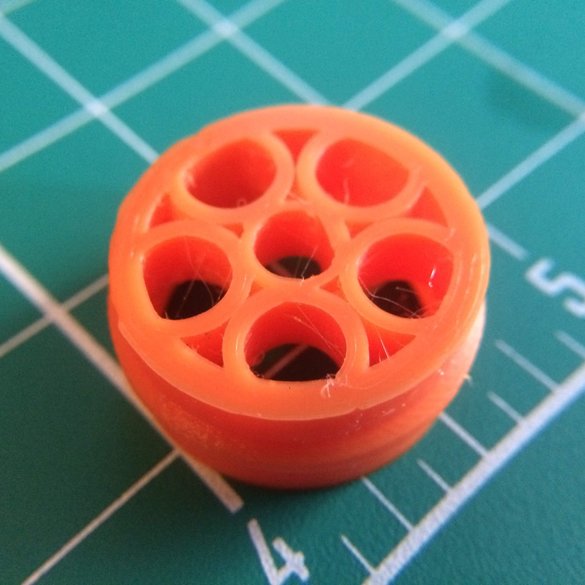
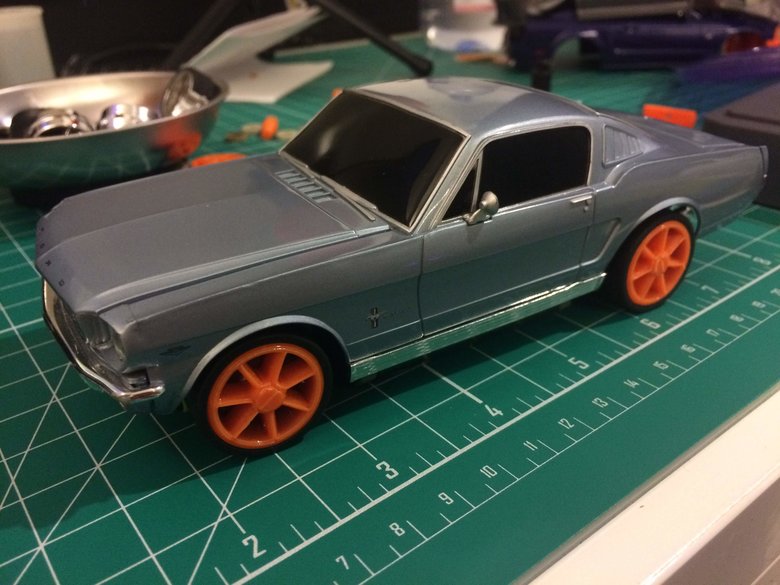
New wheel design! Inspired by the Alfa Romeo 8C
Pictures from Day 11: Replacing the axles to enable using metal sleeve bearings
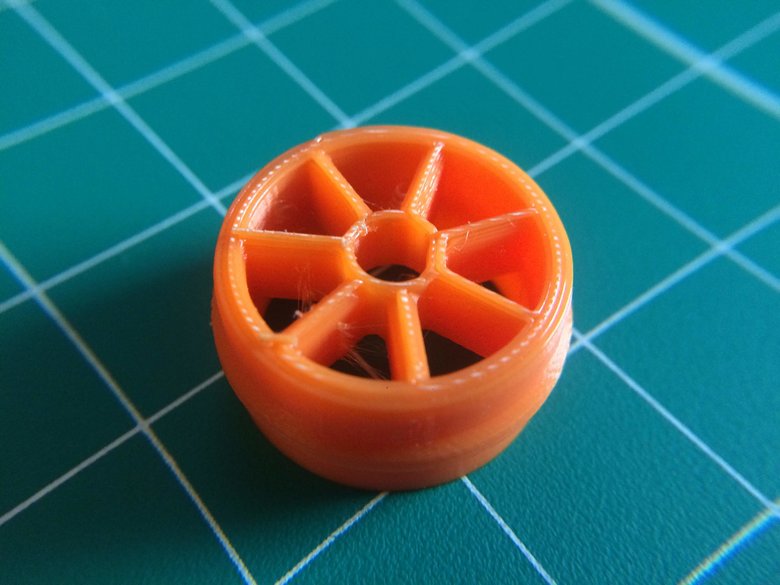
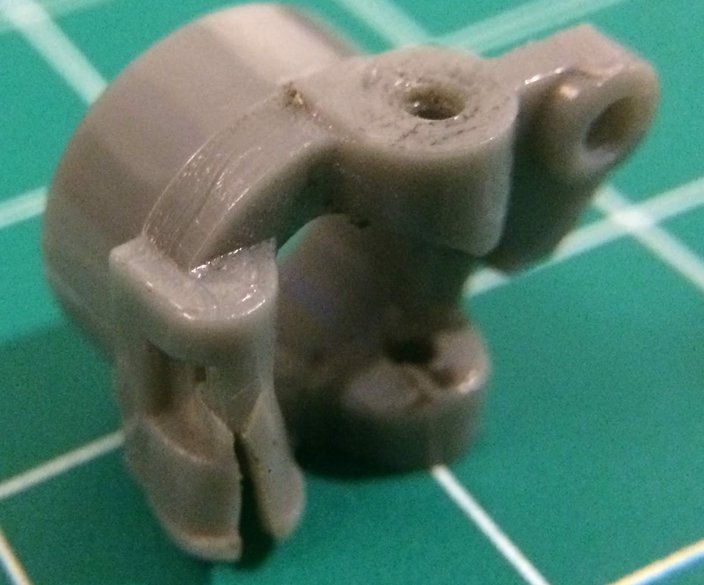
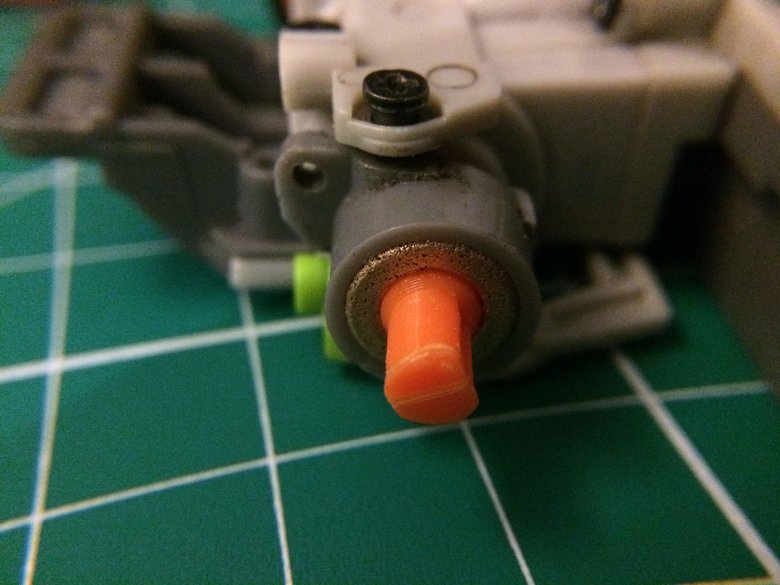
The triumph of the day was proving out the concept for creating custom wheels. The center hub uses a D-shaped drive and is sized so the wheels snap-fit into place.
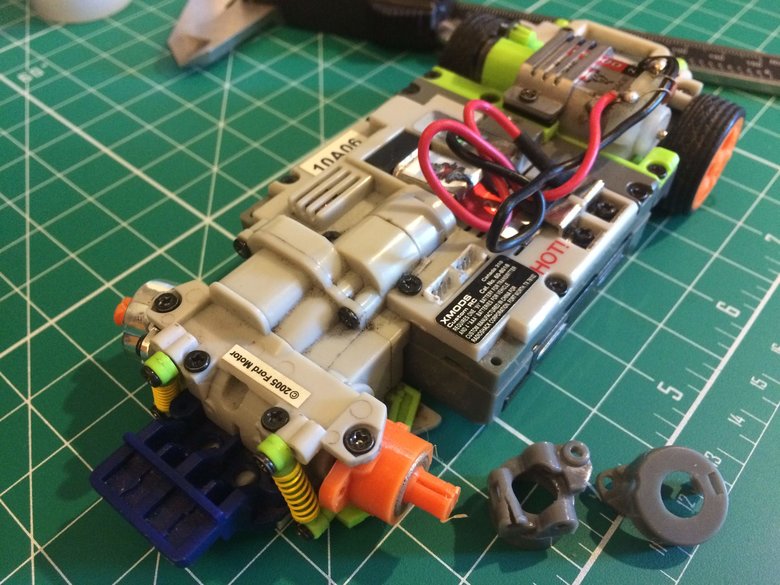
Today's focus was on replacing the wheels for the XMods. This has two purposes: I've wanted to play around with printing my own wheel designs and I wanted to experiment with replacing the wheel axles to see if I could reduce slop in the wheels that comes from a loose fit between the axles and the hub.
Images taken with a new macro lens
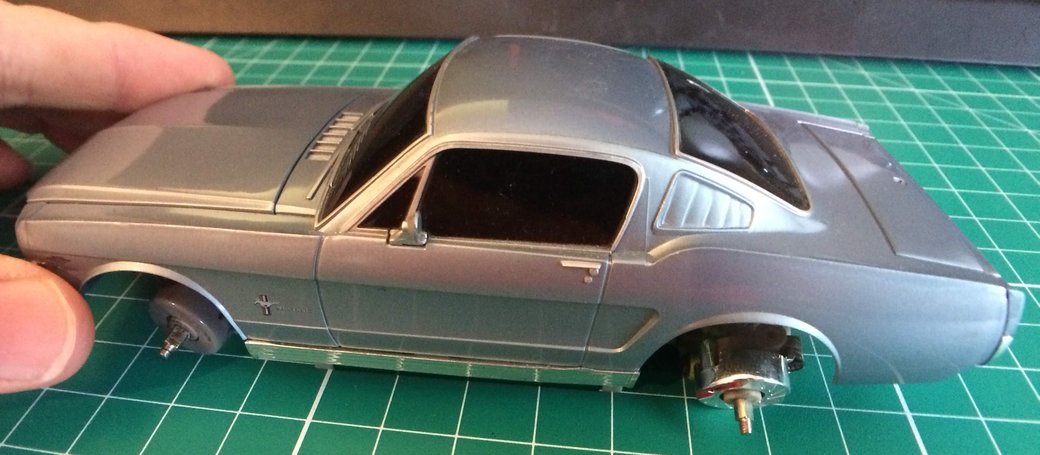
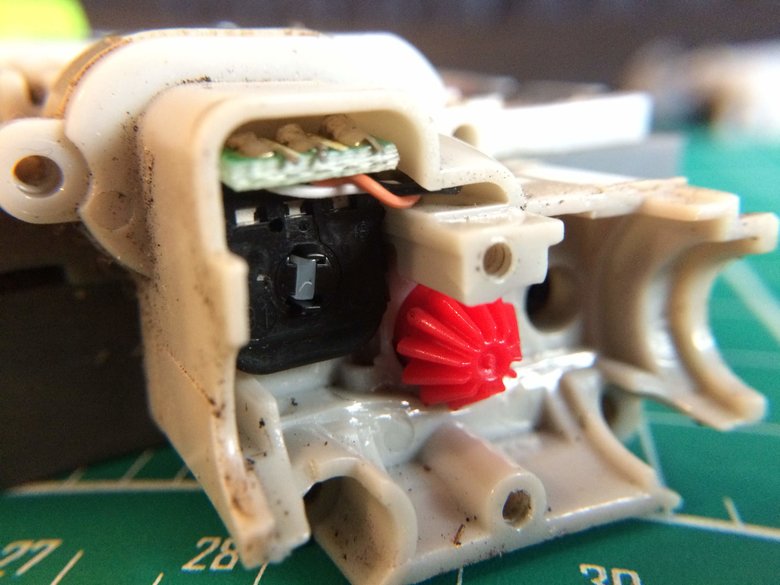
One of the more complicated restorations that I'll need to complete is reviving the older shorter chassis for the Mitsubishi Lancer Evo and the classic Ford Mustang.
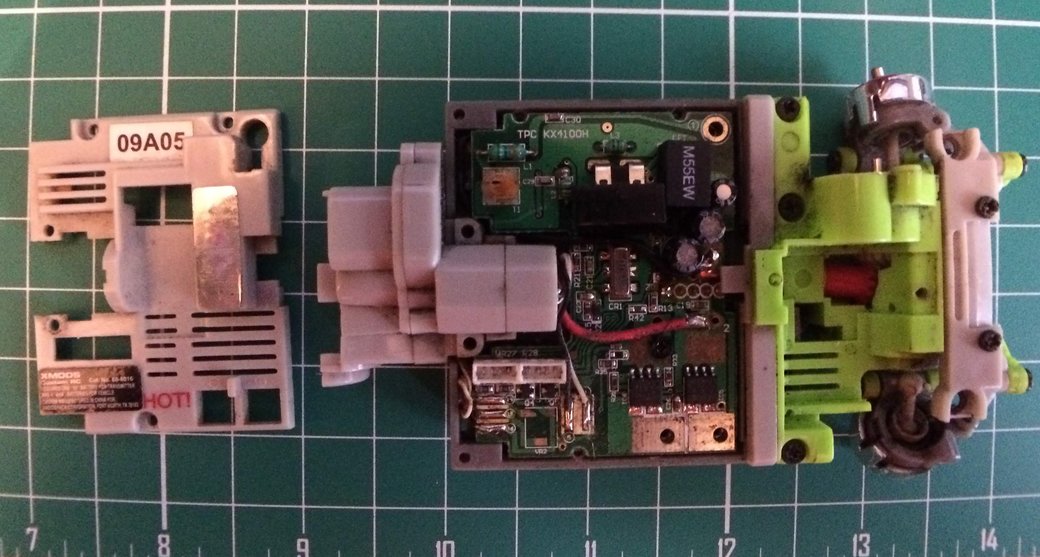
One aspect of reviving the XMods parts that I have involves figuring out what I need to fix to get the shorter chassis running again.
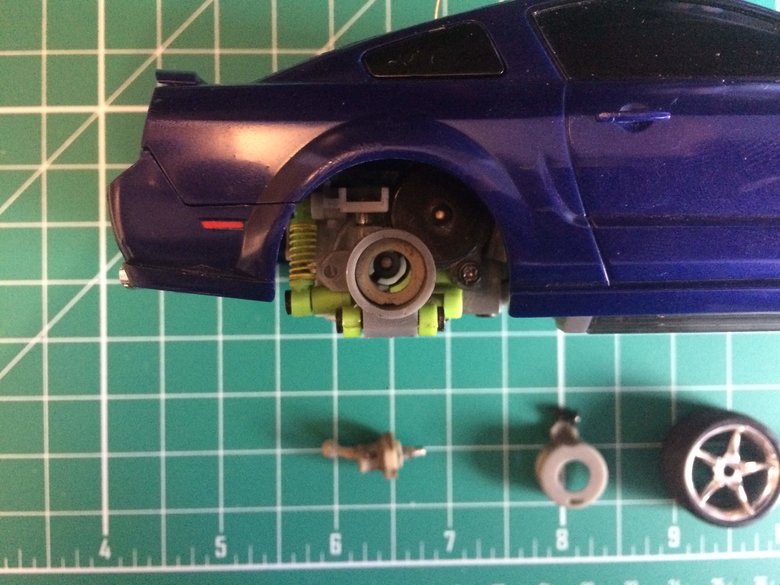
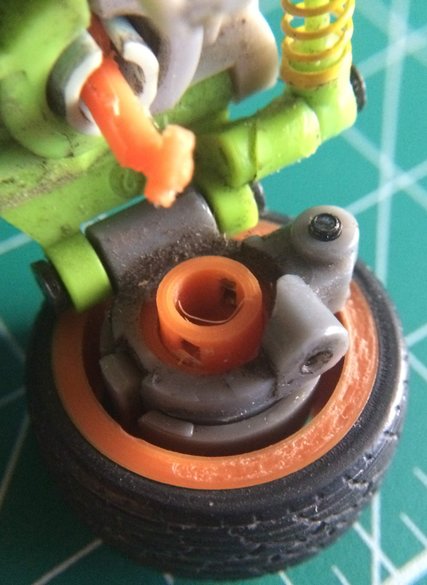
The wheel mounting design leads to some slop in the location of the wheels. In taking apart the mechanism, it appears that the slop comes from the plastic bushings not locating the driveshaft precisely.
The latest design has almost all of the features that I'm looking for, with support for some more interesting customization to go beyond the style of the original bumper.
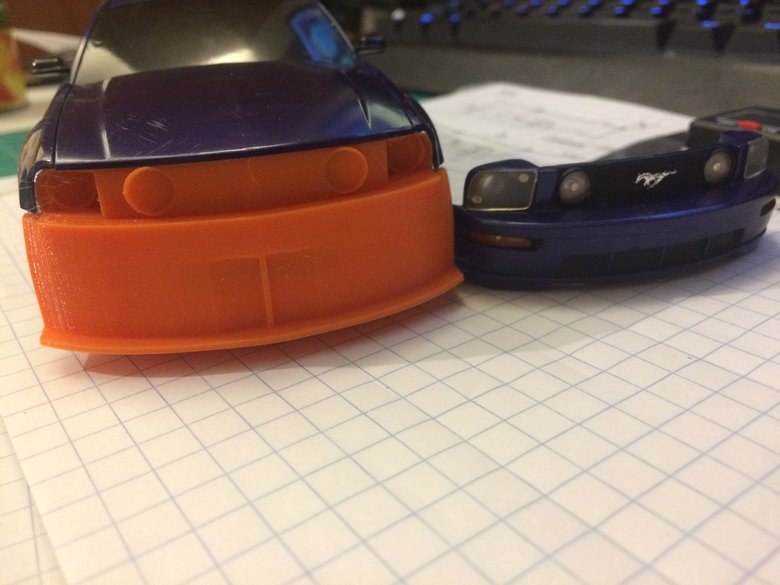
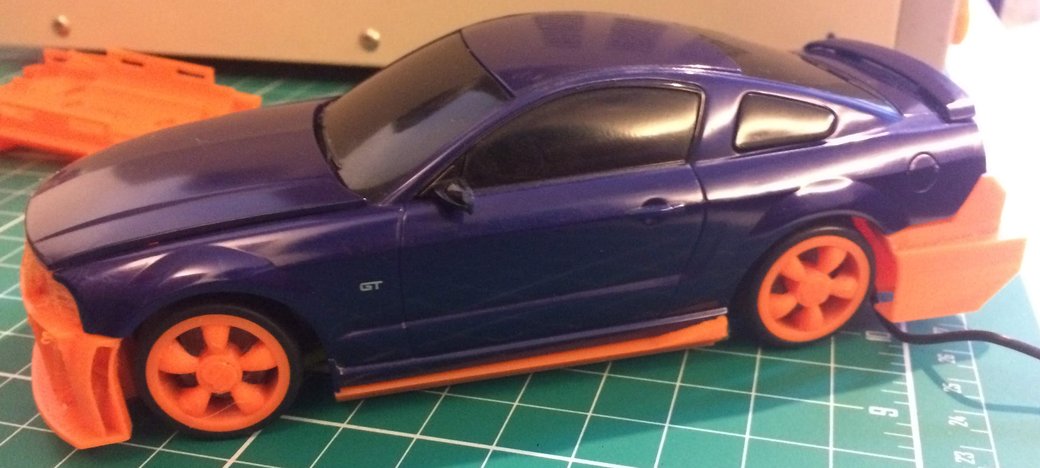
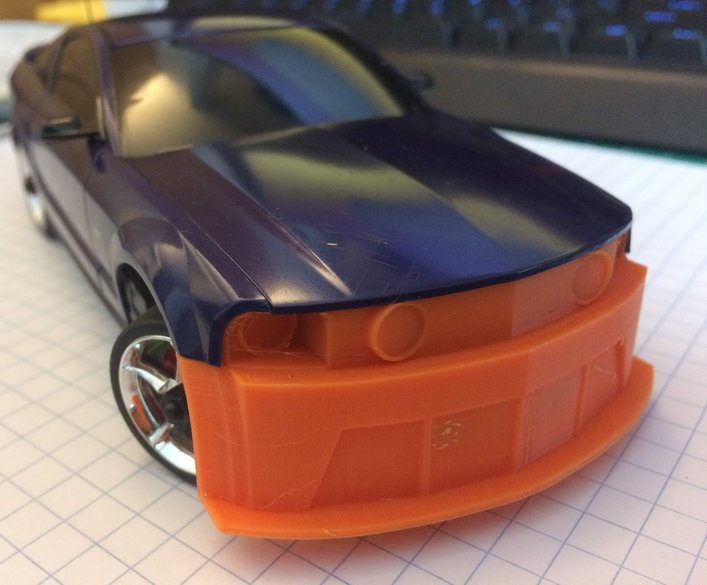
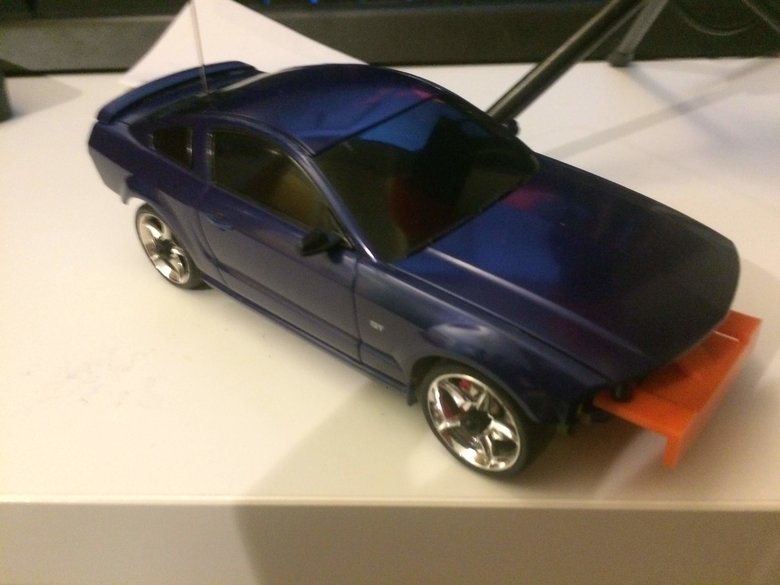
Before and after pictures, the design is almost a good fit. There are some spacing issues at the wheel well but visually the layout and the headlights are close to the original style.
The first attempt at curvature got close, but the dimensions didn't line up with the hood as expected.
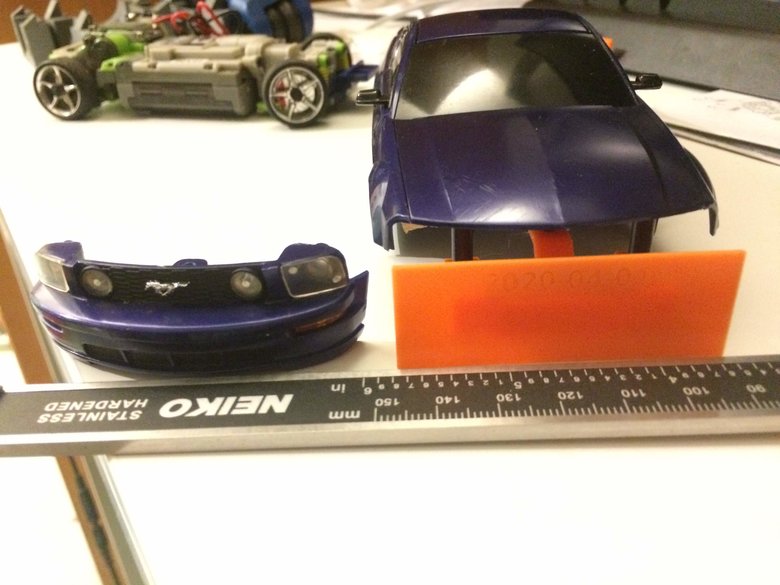
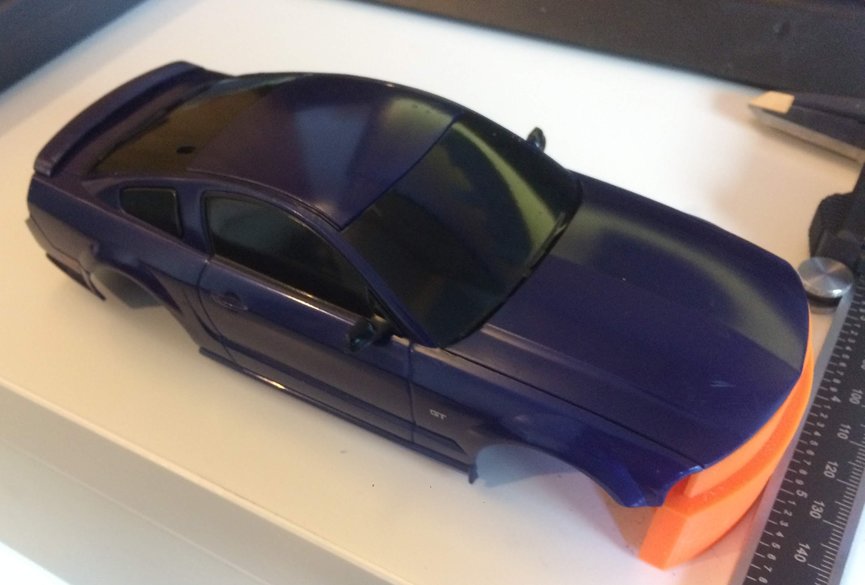
With the first prototype, I focused on getting something that would fit the 3 mounting points on the standard body.
With the first prototype, I focused on getting something that would fit the 3 mounting points on the standard body.
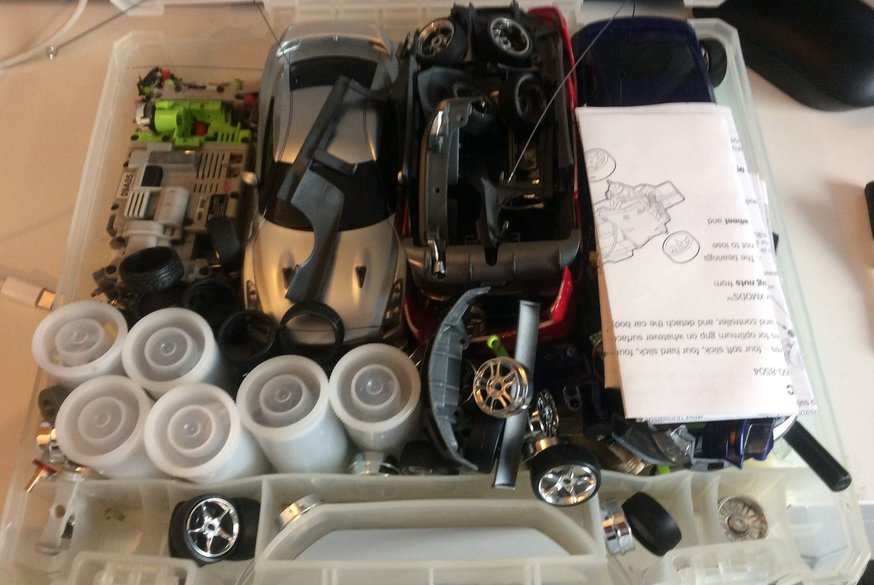
I recently dug up a box of parts for XMods, 1:28 scale RC cars with customizable chassis and bodies. Along the way I've started to document what I'm working on. The first project is going to be replacing the front bumper of the 2005 Ford Mustang.