The suspension work continues! The rear design with short arms plastically deformed after the first flex, so I ended up changing to a more complicated design with longer arms. The new design should also allow for equal length and thickness arms on the front and rear designs.
Front Design
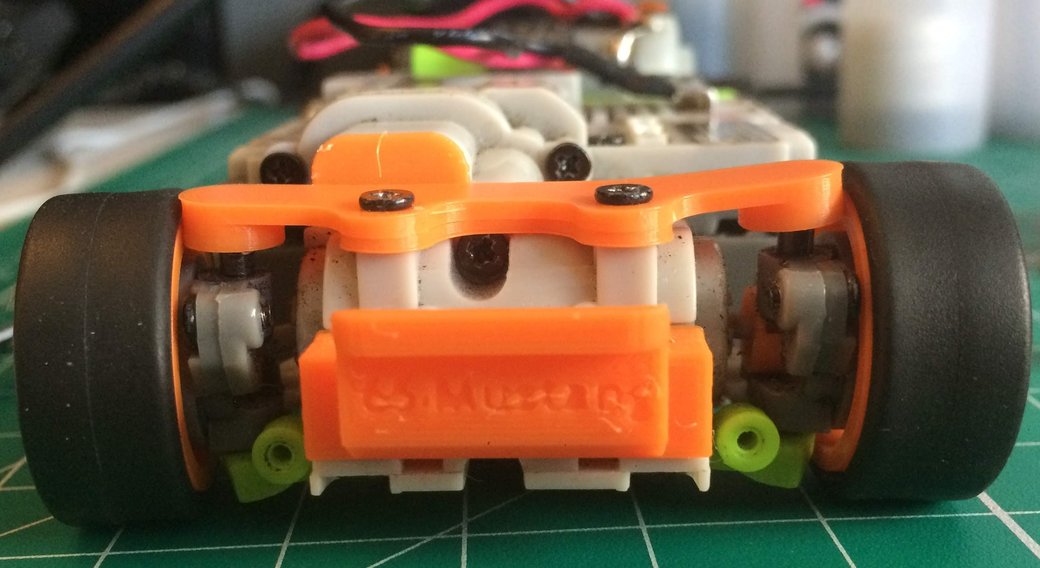
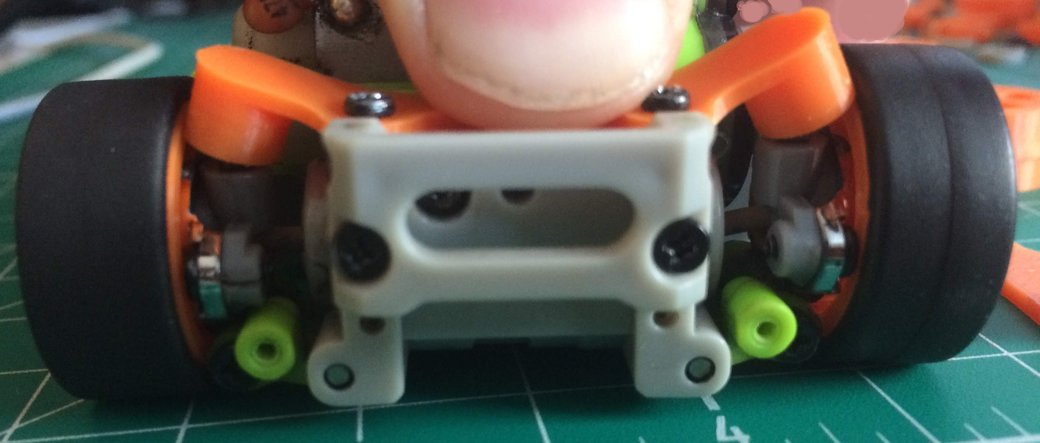
A closer look

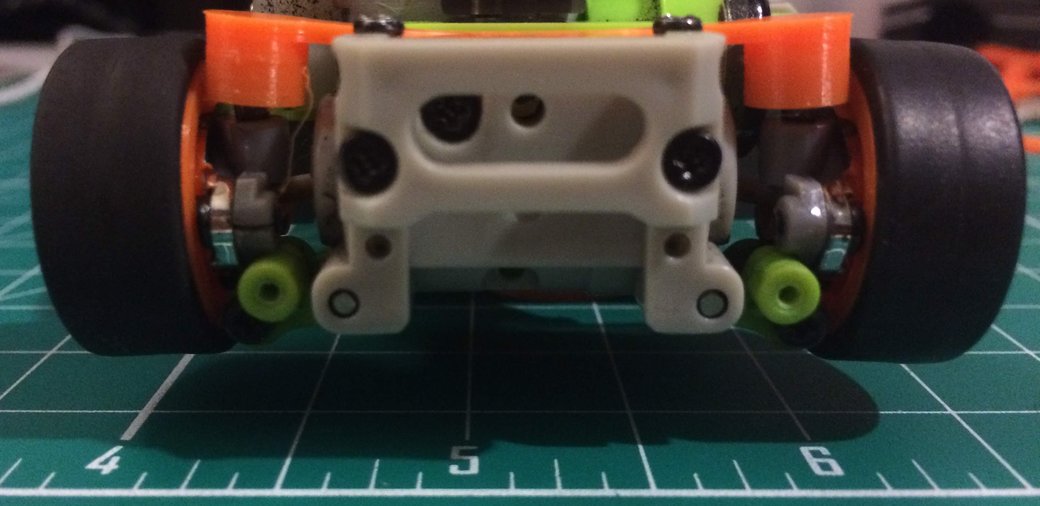
Rear Design
Based on the front design, but with different packaging for the rear dimensions of the chassis.
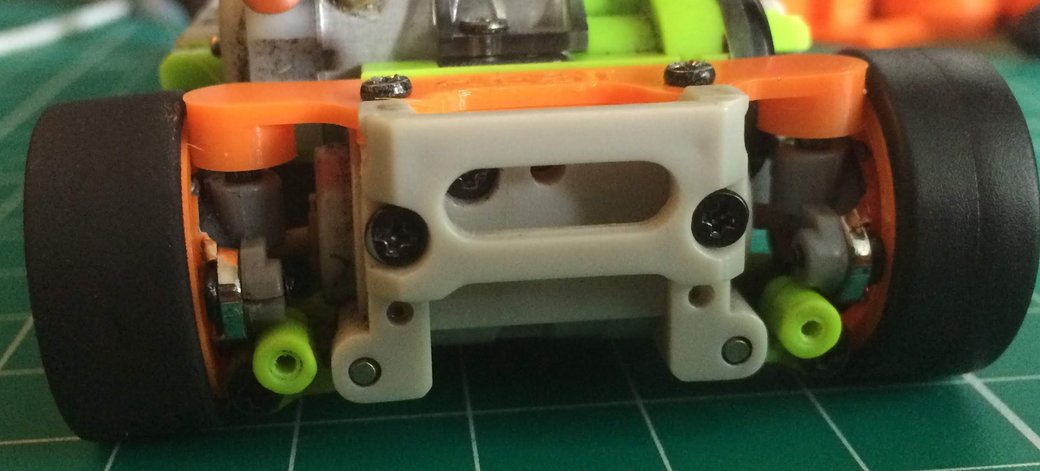
The rear suspension design has to deal with quite a lot of travel given the length of the arms as designed.
Each bushing is ~2mm, so it's between 3 and 4 mm of suspension travel
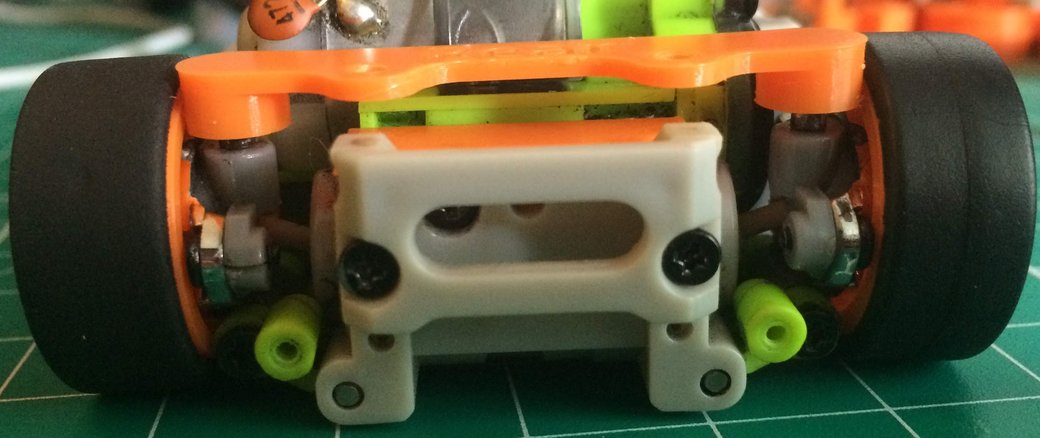
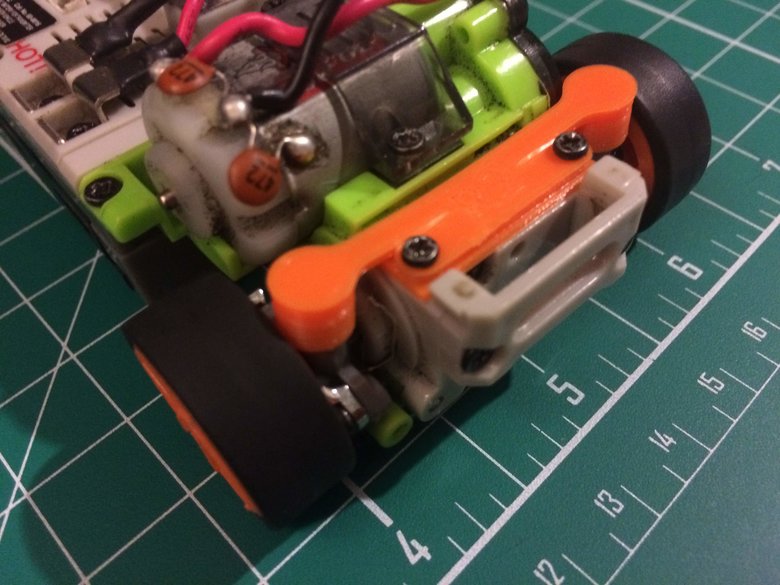
A different view of the spacing

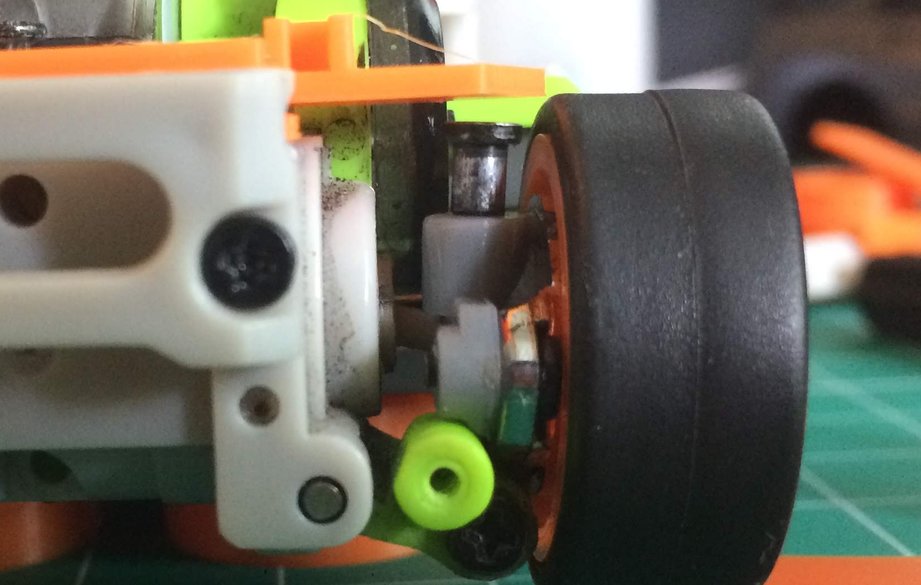
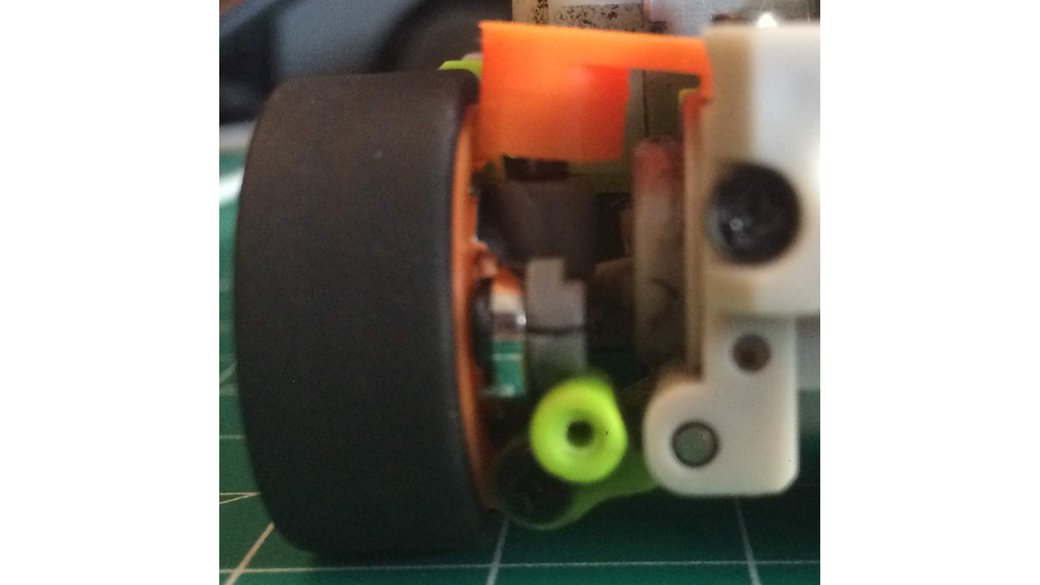
A closer look at the right side
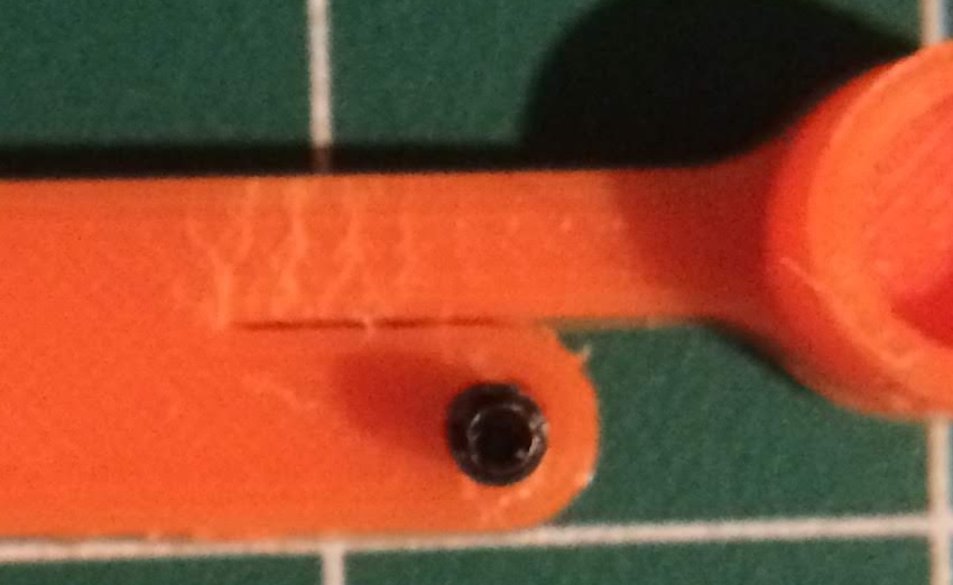
This leads to a huge amount of flex in the rear suspension, which led to plastic deformation when I compressed it fully.
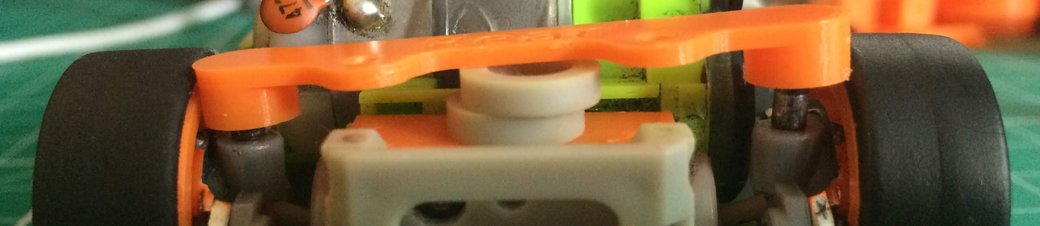
Even when unloaded the suspension is still deformed after one compression cycle
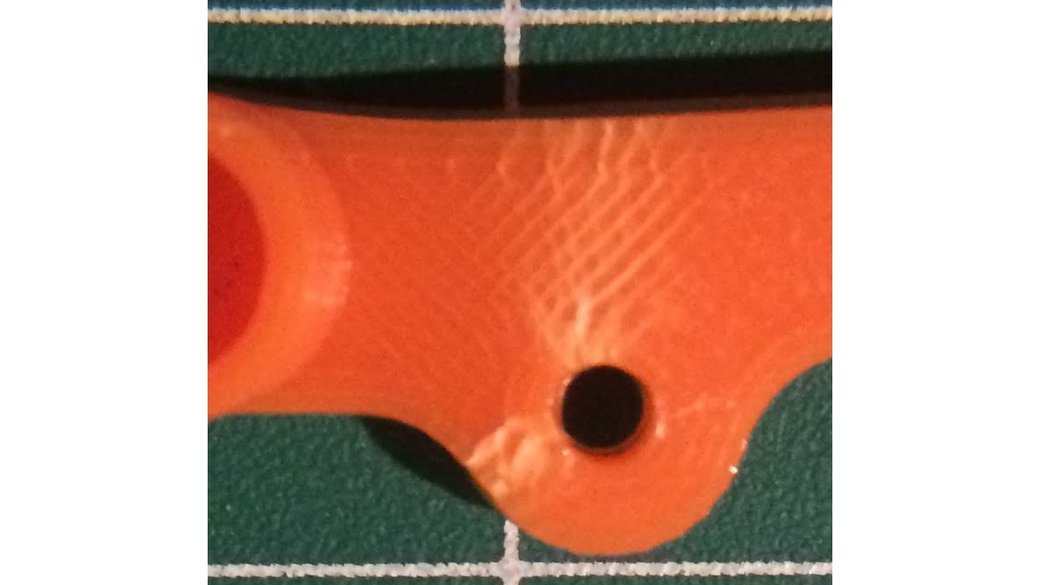
You can see the results of the deformation near the mounting screw
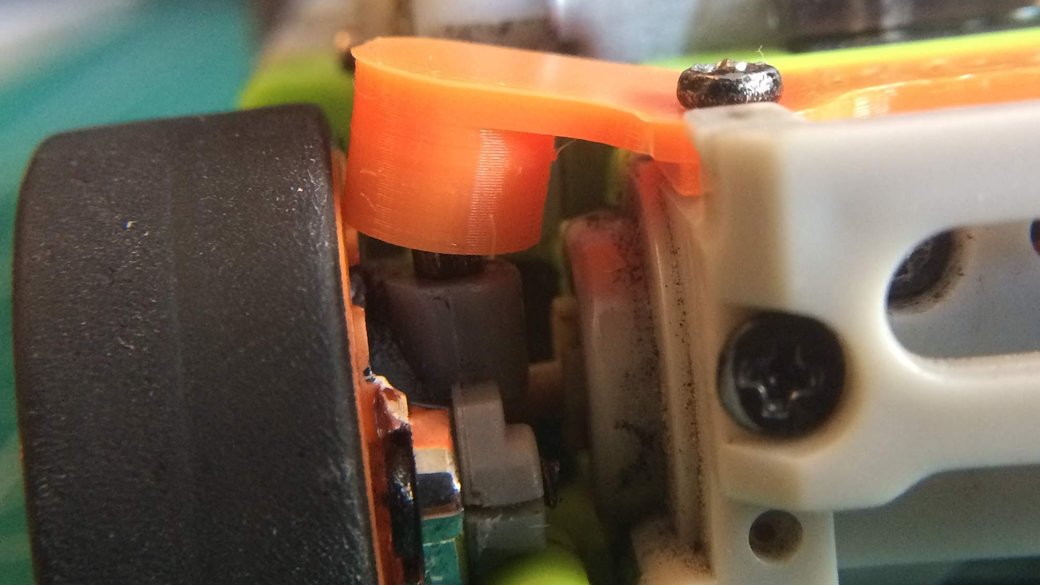
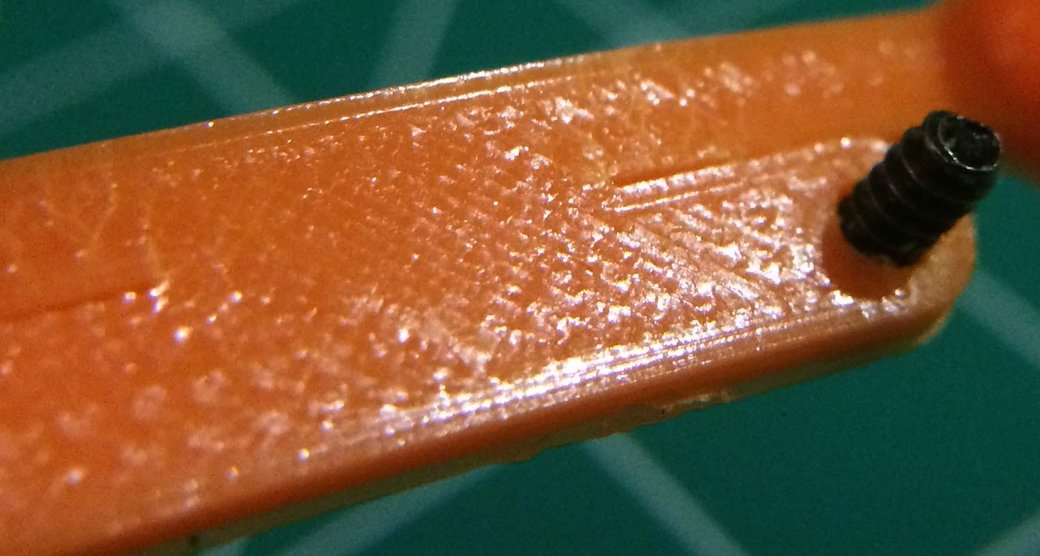
Here you can see the stress deformations. Of note, the fractures tend to travel along the printed fill lines and seem to originate from where the screw mounts the suspension.
A closer look at the left side
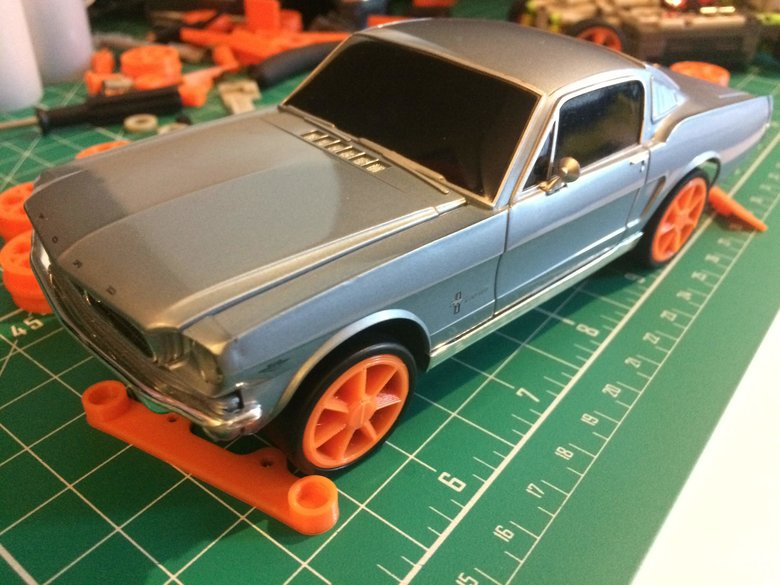
Checking to see how it looks
The new suspension has a high effective spring rate, so the body rides relatively high.
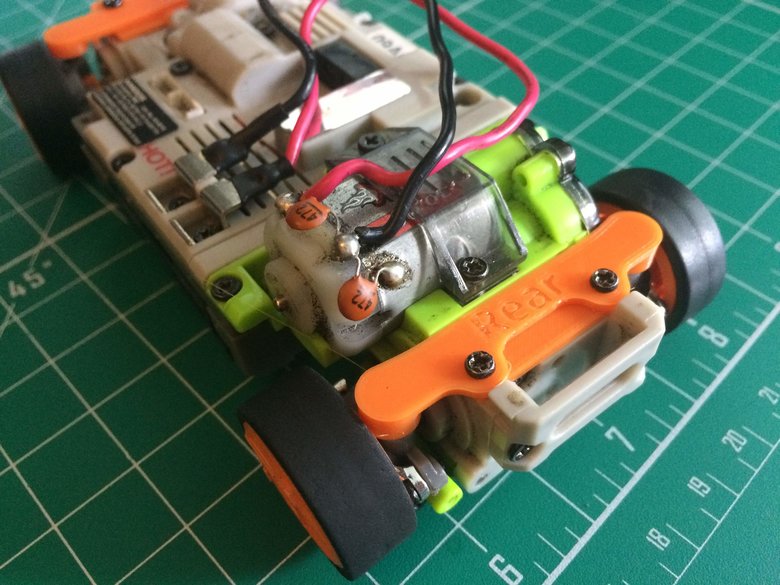
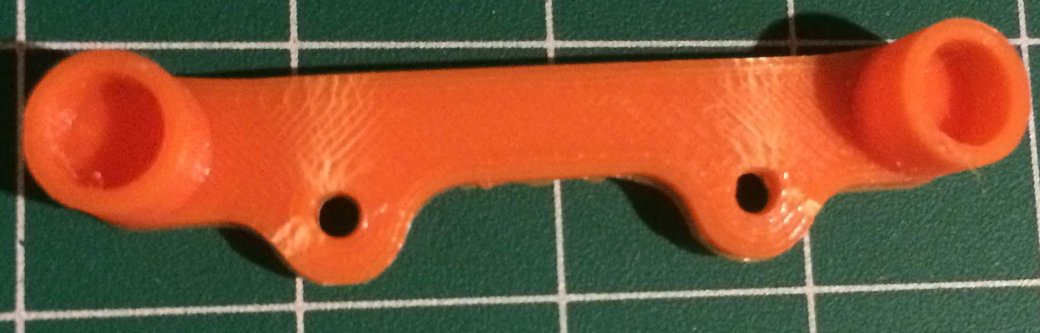
New Rear Design
The new design lengthens the arms to reduce how much the plastic needs to flex for a given length. This "dog-bone" packaging does make the arms much weaker; however, this approaches a similar spring rate as the original XMods suspension design.
When printed the gap is almost not there. It's just enough to be able to gently snap apart after taking the part off the print bed.
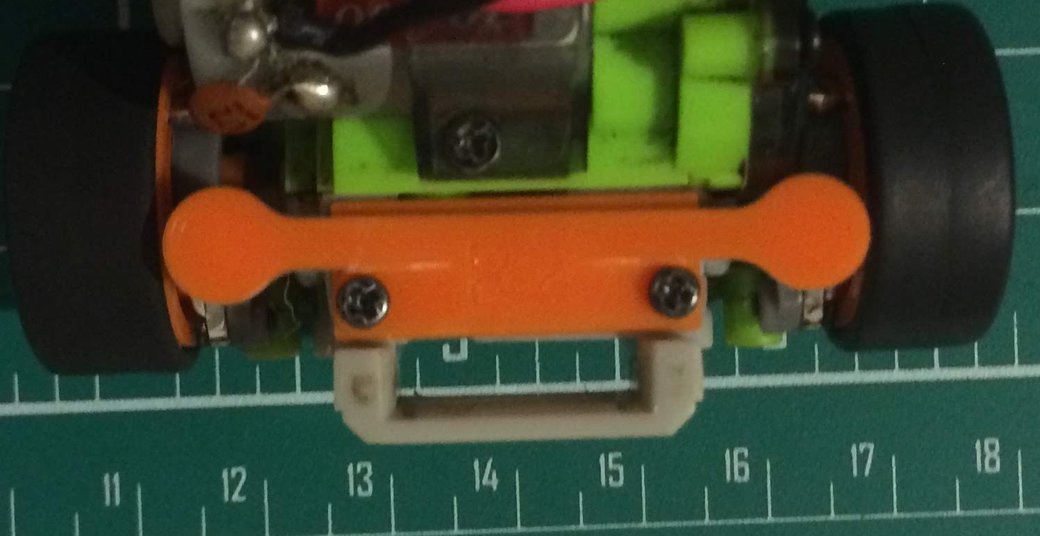
With no load the suspension sits slightly flexed
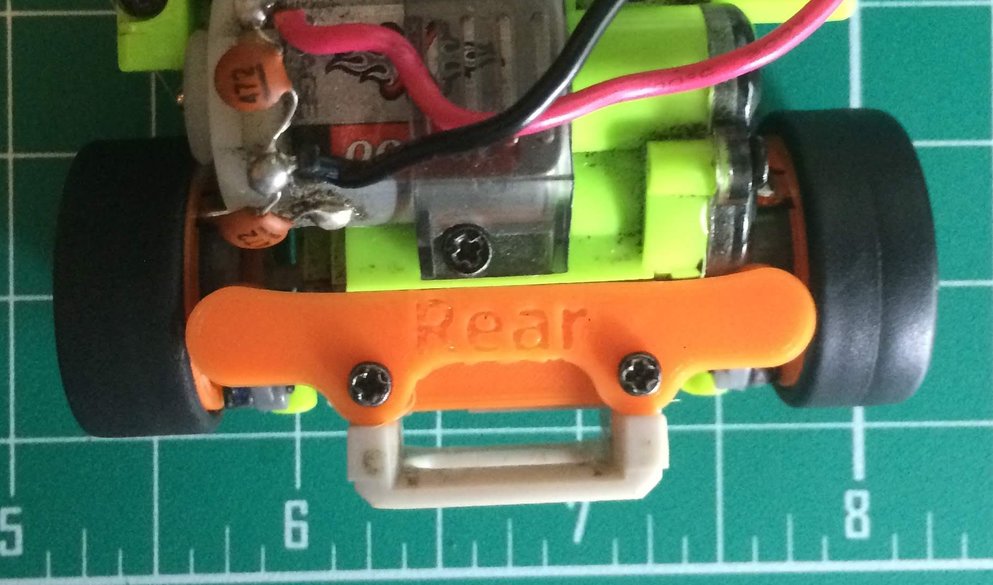
Stress-Testing the New Rear Design
Under compression. Note significantly reduced curvature compared with the original rear design.

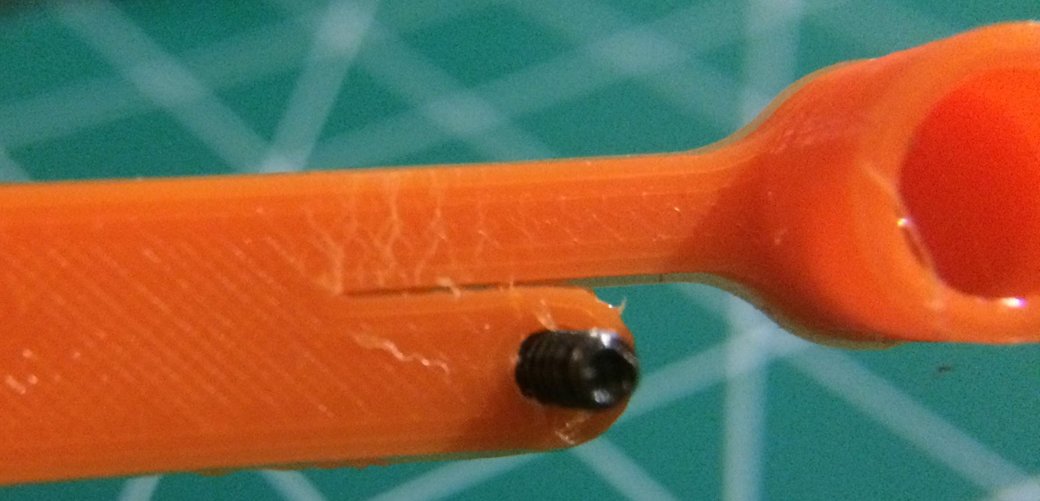
Here's a closer look at the new design after it'd been forced through its range of motion a couple of times. The fractures seem to spread from the end of the split between the mount and the arms. There's a similar pattern here of the stress travelling parallel to the fill direction.
Infill direction
Close up of the stress pattern in the new design
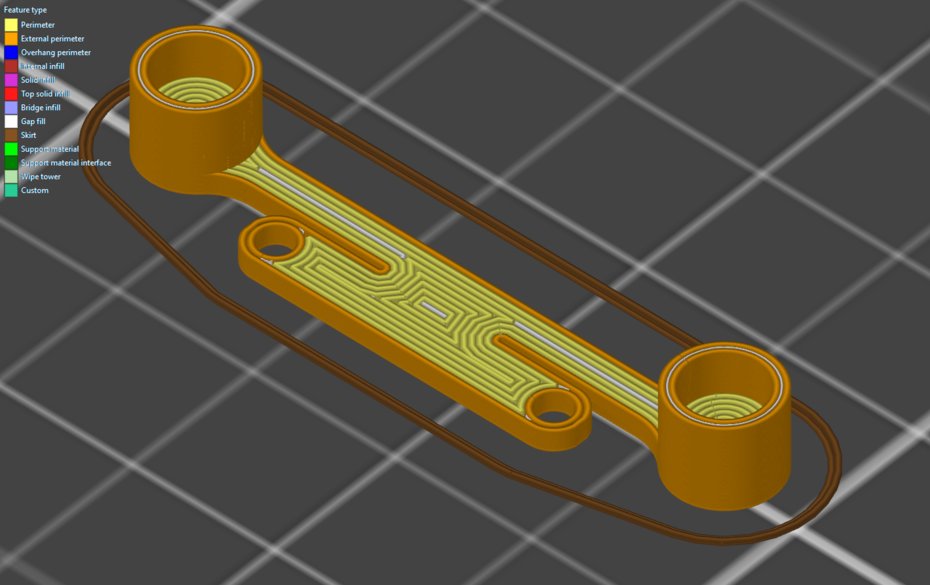
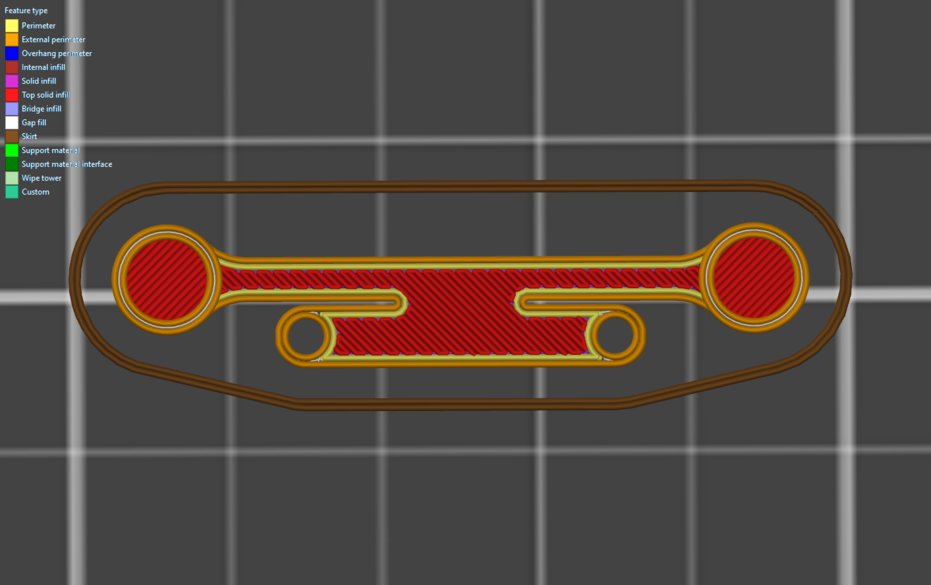
Slicing Up the New Design
Looking at the slicing for the new design, it's easier to see the fill direction with the default settings.
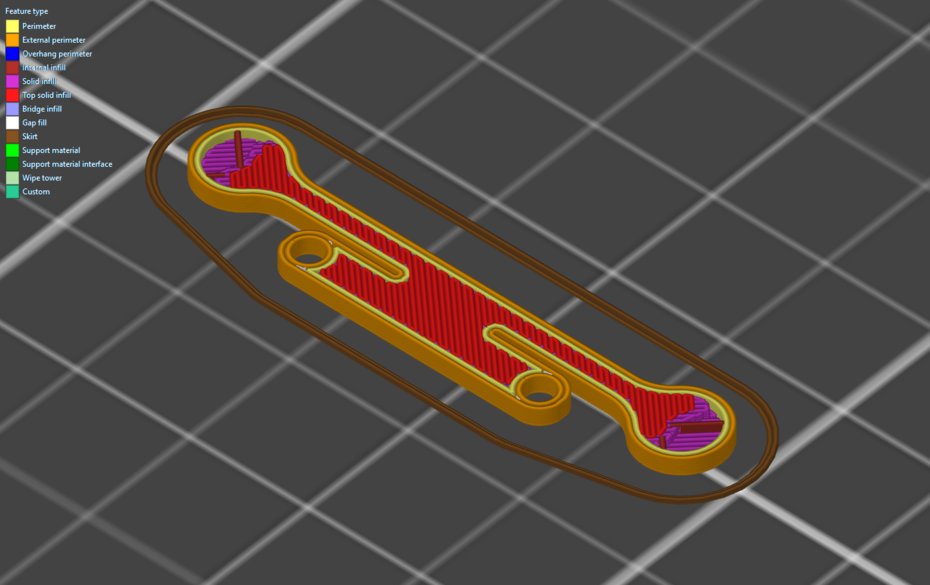
The stresses seem to concentrate along the red fill
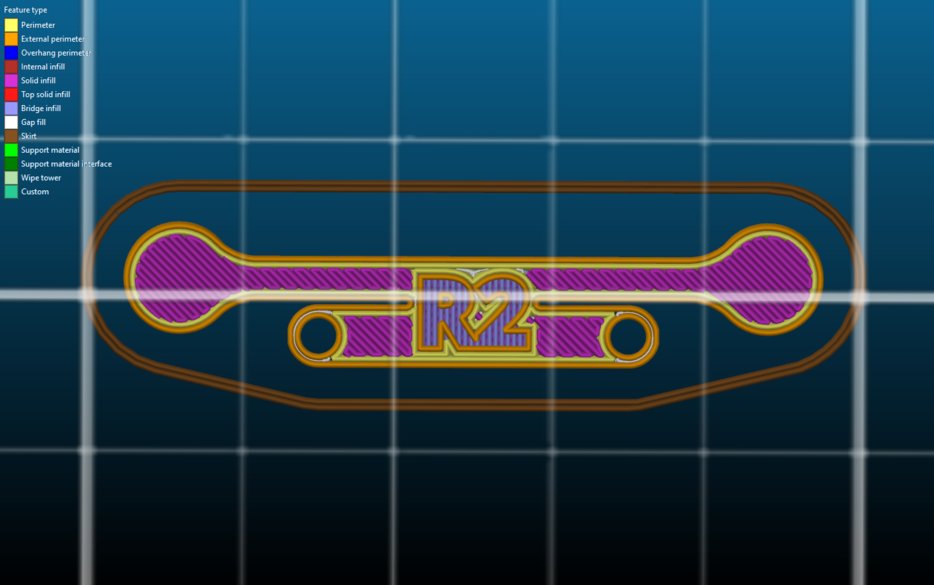
I was originally concerned that printing the version number into the part would cause it to break more easily; however, the tension stresses are primarily on the other side of the part. It appears that the design resists compressive forces well enough that there isn't visible deformation on the top.
To adjust the design and see if I can get better stress patterns (and less permanent deformation) I decided to try increasing the shells to align the fill along the direction where it would be most stressed. In the XMods design, the lower A-arms can handle a lot of the longitudinal and lateral loading from the road, so the upper A-arm should mostly be stressed vertically (in an ideal world for this design). Even in a non-ideal world, the forces should primarily act to bend the suspension instead of shearing it, so the aligned print shouldn't have too much downside.