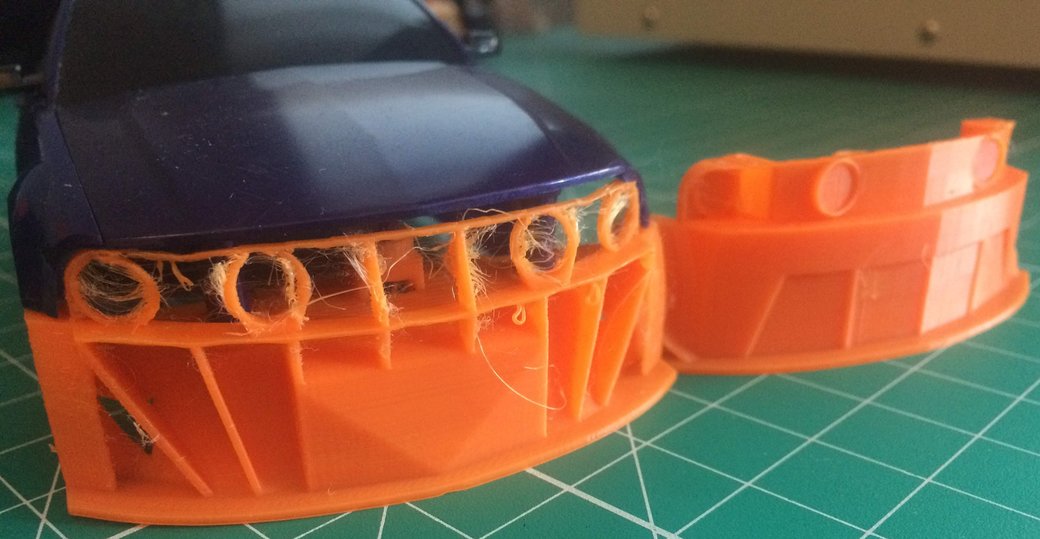
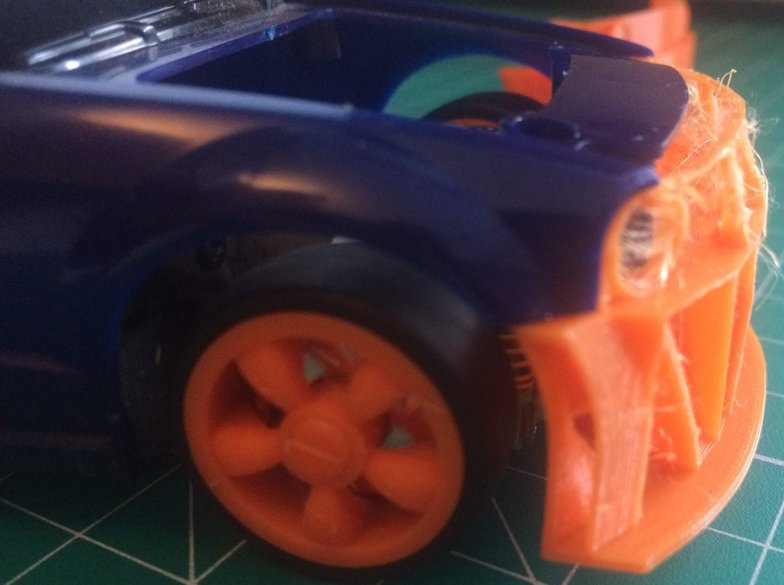
The first order of business for the day was printing the new aero front bumper. The end result was somewhat flimsy and didn't print well, but it's a great start. It's probably the least manufacturable of the part designs by traditional methods so far, making it perfect for 3D printing once the print is dialed in.
The High Flow Bumper
Printing
Printing the aero-bumper design went okay for a first attempt. Most of the design printed well, including the bridging over where it hooks up to the front bumper insert. On the other hand, there was a lot of stringing. Also, some of the thin features were under-printed or not printed as part of slicing.
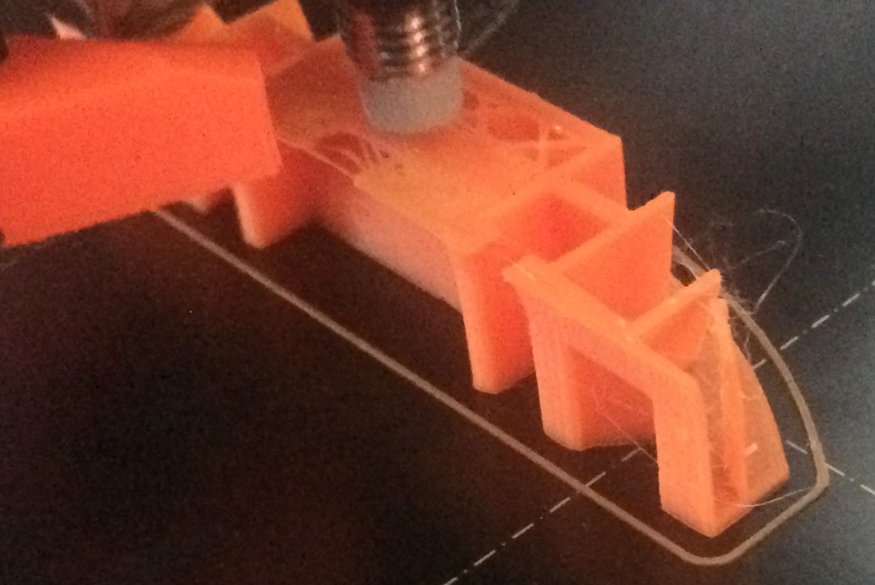
I like the general look of the new design, but it didn't print as well as I'd hoped. There was a lot (a lot) of stringing in the thin features for the top of the design. Part of this is likely due to "tuning" the print settings for retraction or otherwise (which I haven't done). The other portion is due to not being as careful with the top area of the design when it came to printing to make sure all the material was supported at no more than a 45 degree angle. One last oversight I hope to fix is that some of the bridging is done at a slightly increasing angle, where there isn't a single layer that spans the bridge. This worked out okay but it leaves room for improvement.
Fitting the Bumper
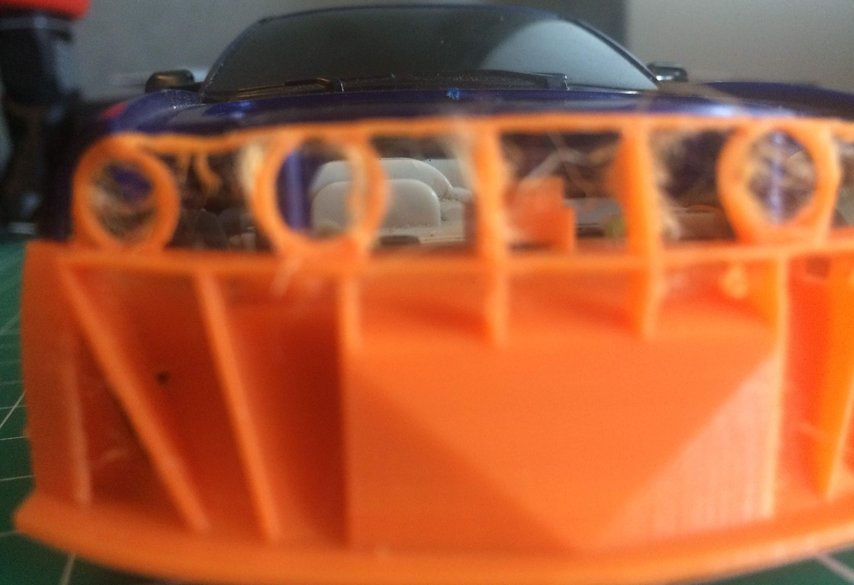
The new design is focused on routing airflow from the frontal area of the vehicle up to the region between the chassis and the hood. Some extra area is "routed" to the sides of the vehicle. Aesthetically, I'm hoping to find a better solution for the center section, which needs to both hide and support the structural member of the bumper that clips the front of the body to the chassis.
Taking a look from the back of the front bumper, it's easier to see the output area. The mounting points don't seem to restrict the airflow too much. The hood does offer some additional area for airflow if needed. It may also be an opportunity for styling.
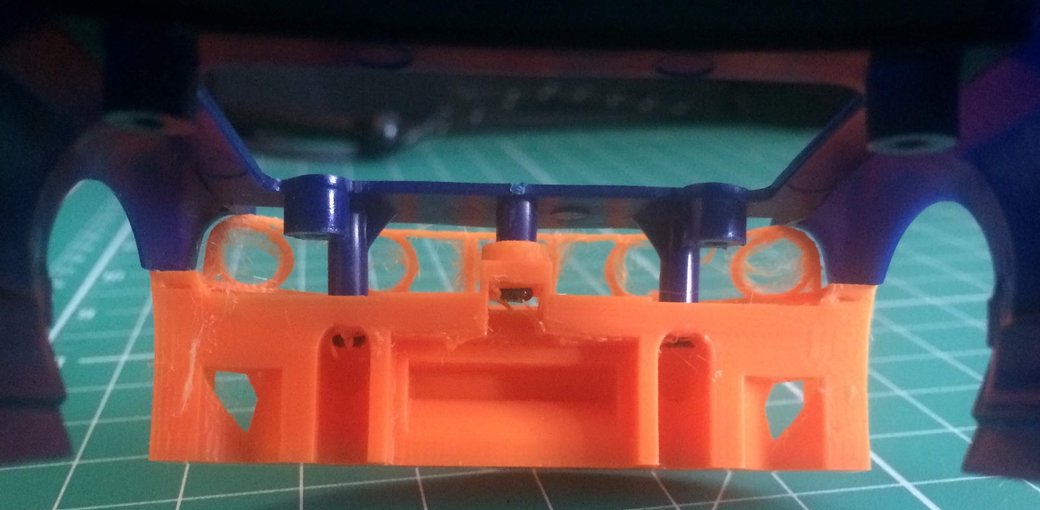
With the chassis mounted, we can better see how the open areas of the front bumper align with the chassis. As the new front suspension design progresses, there is room to add aero components to that or at least to smooth out the design to improve internal airflow compared with the original XMods suspension layout.

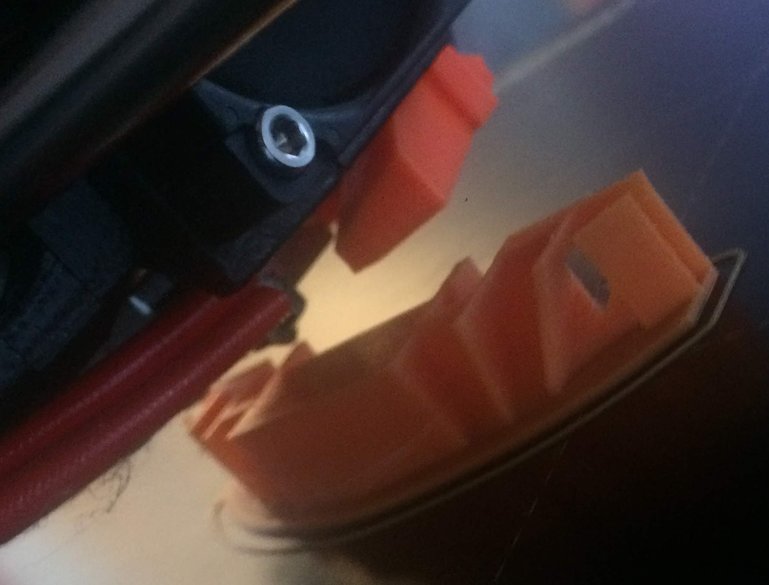
Side Channels
Based on some back of the envelope math and some imprecise estimates of frontal area and available interior flow, it seemed like there'd be some extra airflow at the front of the car that wouldn't need to be directed into the car. Instead, the print allows for some are near the side of the design to flow out through channels that release it back ahead of the front wheels.
The channels are easier to spot while the design is printing. Surprisingly, the 1 nozzle's width print with a shallow draft angle printed surprisingly well with little to no extra material blocking the side channels at the end of the print.
Full Half Shaft
It seems like the front bumper and the half-shaft are going to come in pairs. Today was also the first day of the newly strengthened half-shaft design.
Running the Dyno
The dyno does seem to be running okay; however, looking at the videos closer does reveal some vibration that might lead to issues later on. I don't yet have a complete theory, but the vibration may be coming because of the use of D-shafts for the rollers.
Looking especially at the right rear wheel, the vibration may also be coming from the car and chassis itself.