I have a small backpack that I love and have used for many years. Unfortunately, the backpack strap began to tear away at the shoulder, leaving me with an ever more tenuous hold on the contents. As a "new year, new me" project, I decided to fix the strap.
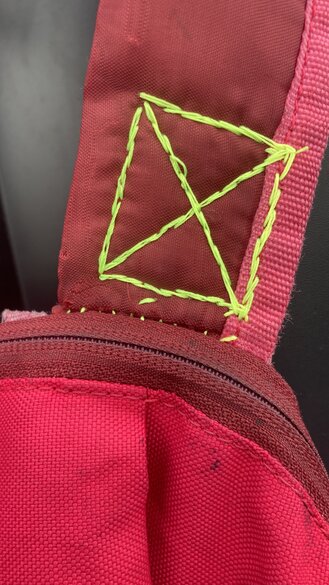
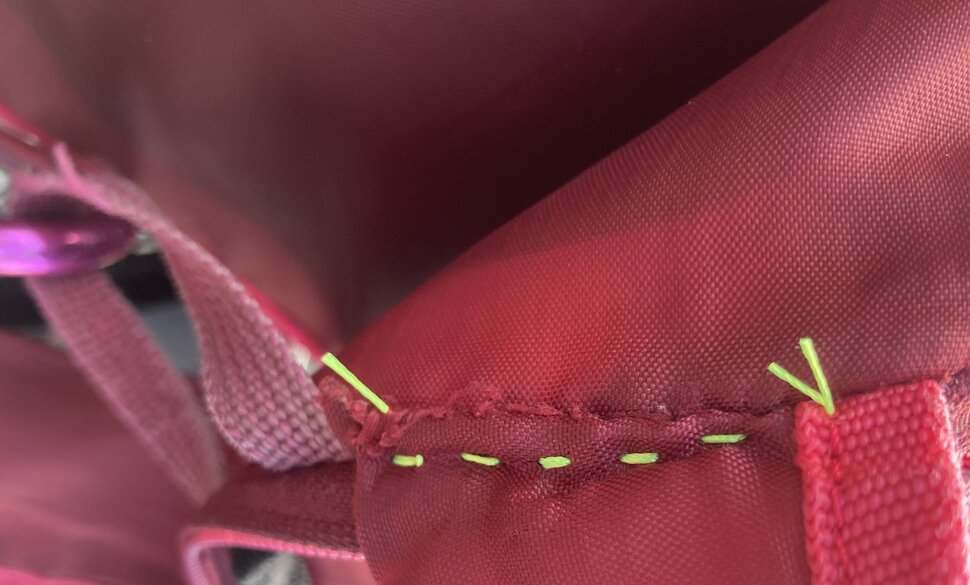
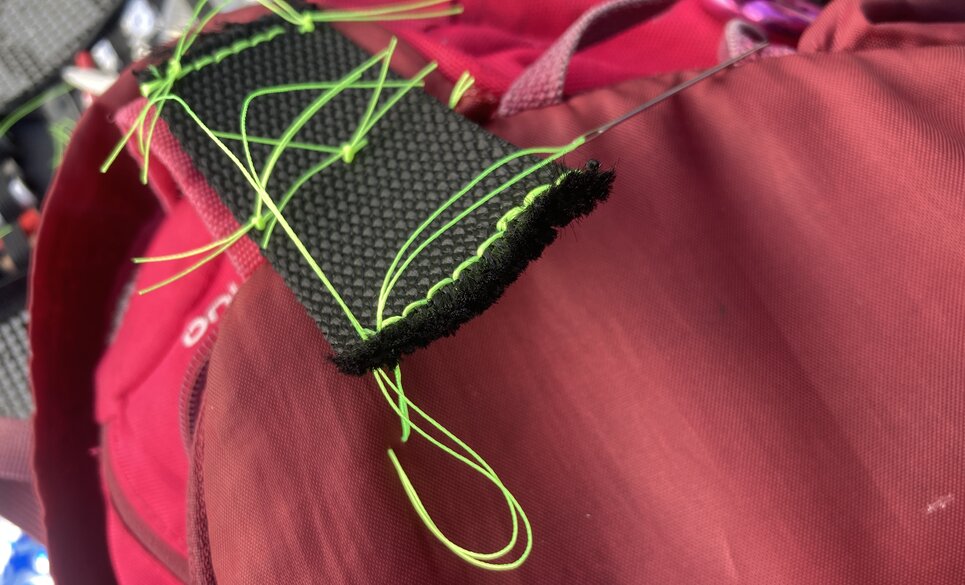
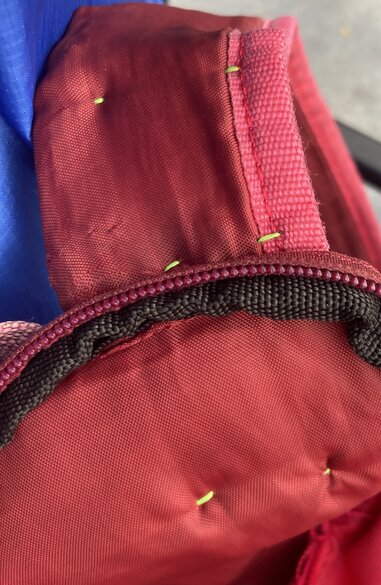
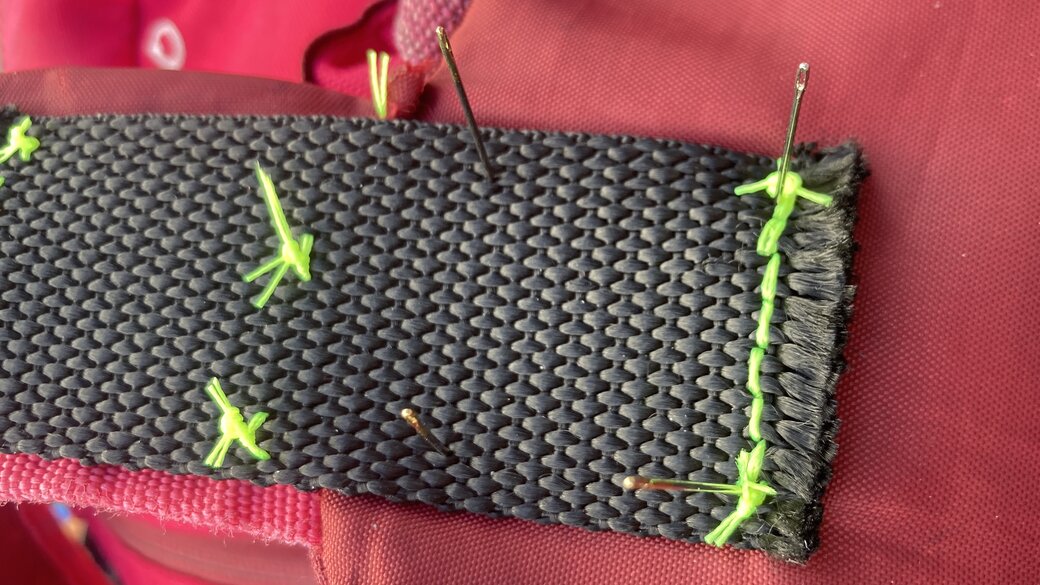
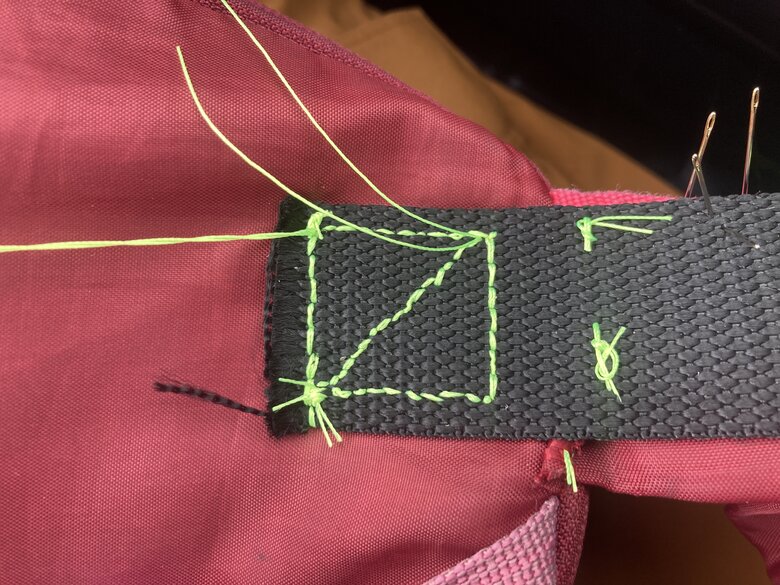
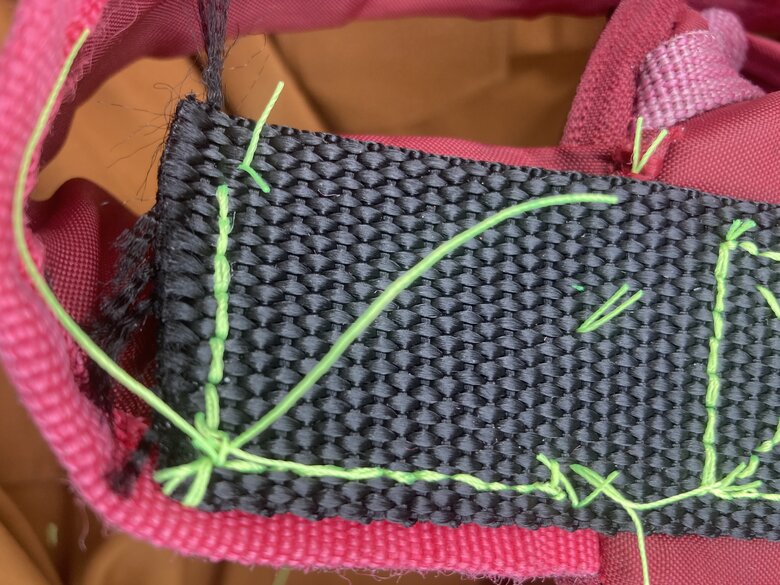
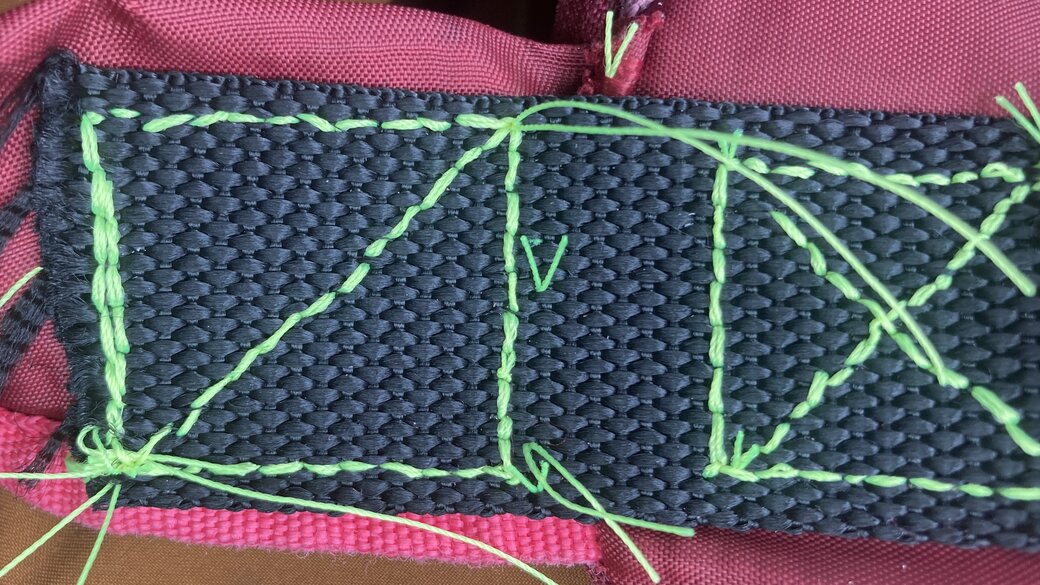
The first image shows a quick running stitch used to "tack weld" the strap back into place. The second image shows the same joint from the other side with the quick running stitch in place.
The repair is based on the iFixit Torn-Off Backpack Shoulder Strap Repair Guide. The most important part of the tutorial was the introduction of the backstitch, video by Mary Corbet. In previous projects, I'd used a running stitch that worked ok for short durations but tended to fall apart over time or as soon as any part of the thread frayed.
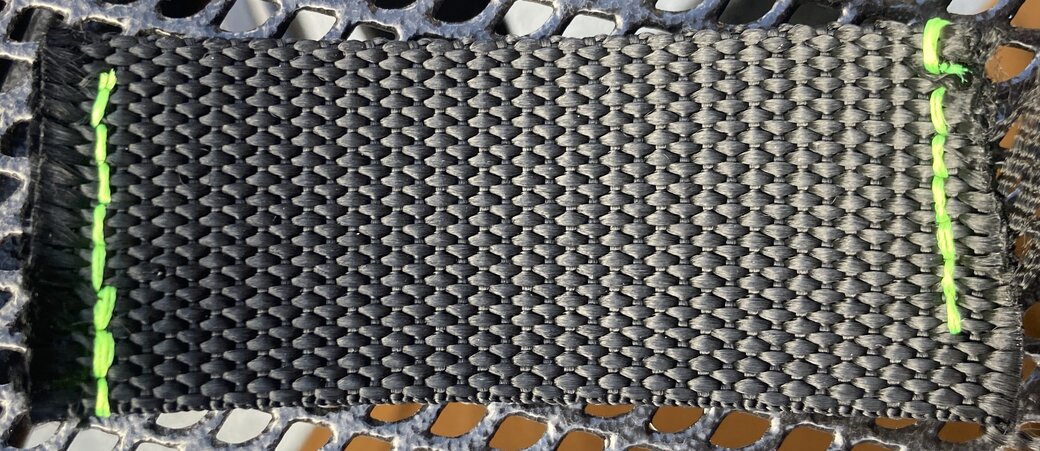
One of the key deviations I chose from the tutorial was to use a webbing material instead of a normal nylon cloth patch. The backpack already uses webbing in the design and it seems to me that the webbing material will be easier to sew than the patch (although this is more of a conjecture than a fact).
Setup
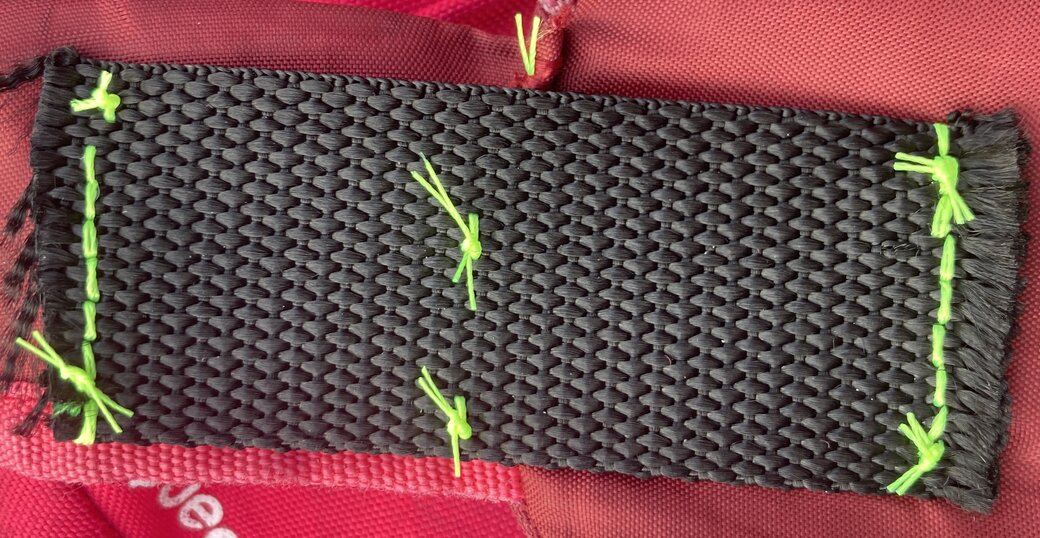
Initial stitches in yellow thread to align the webbing and backpack
Small yellow stitches holding the webbing to the strap and backpack
Stitches viewed from the other side
Planning
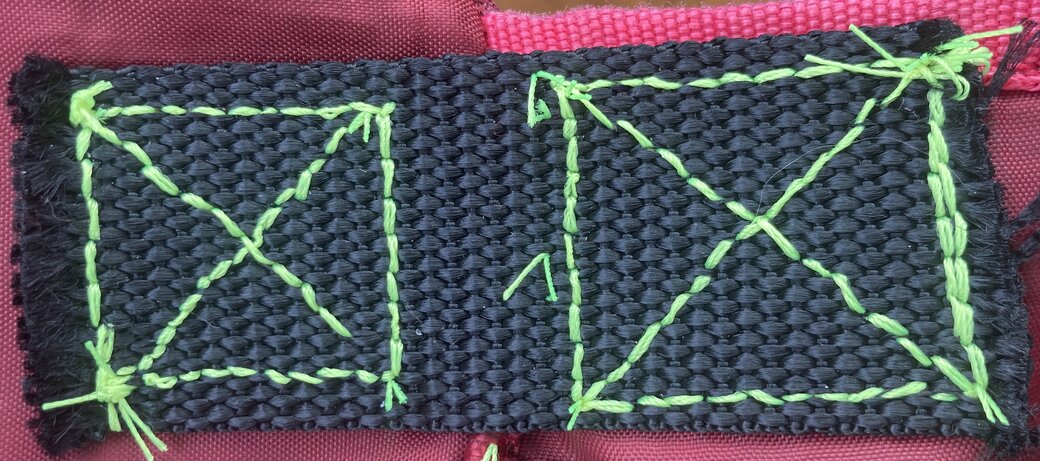
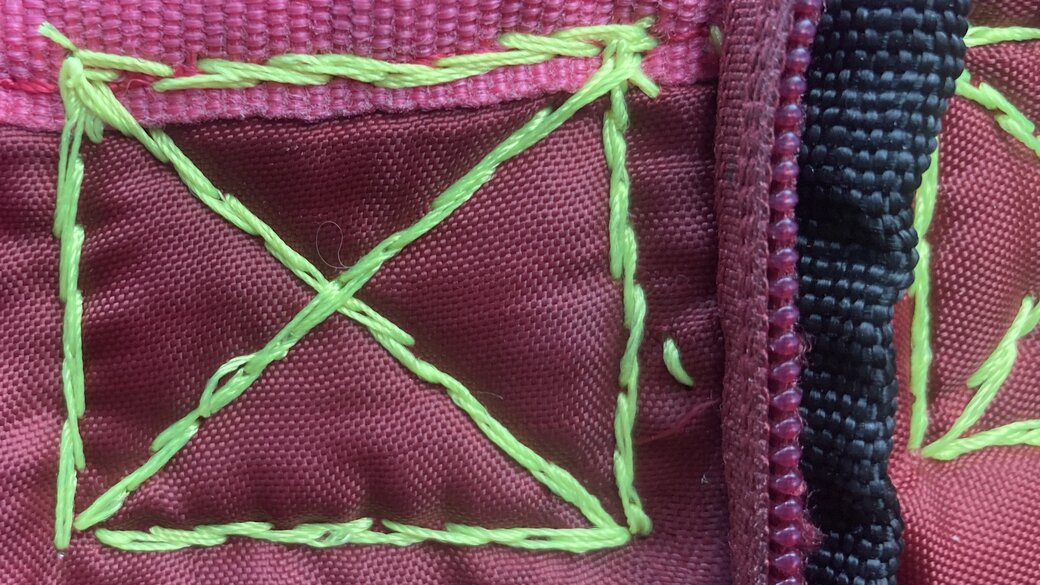
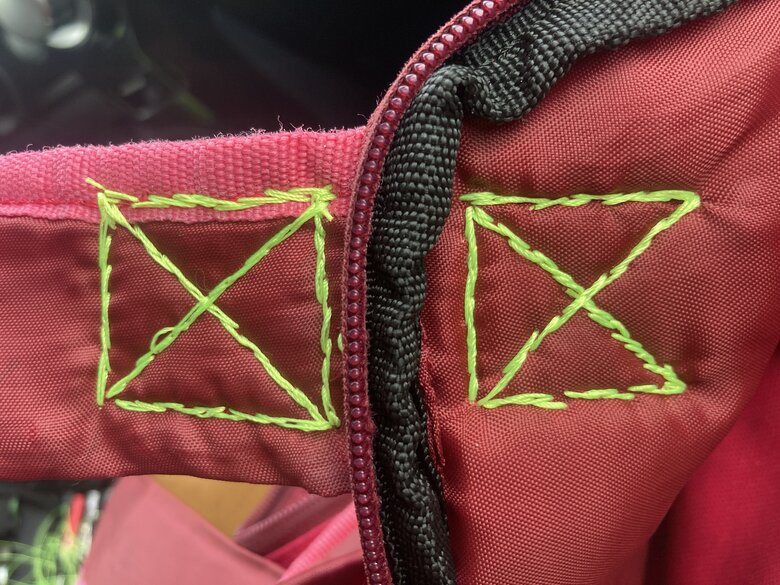
The stitching follows a figure eight pattern to allow for one continuous thread to stitch the full repair on each side. (Technically, the problem is a variant of the Seven Bridges of Konigsberg and isn't solvable but I cheat and use one side from the existing stitching in the webbing to complete the look)
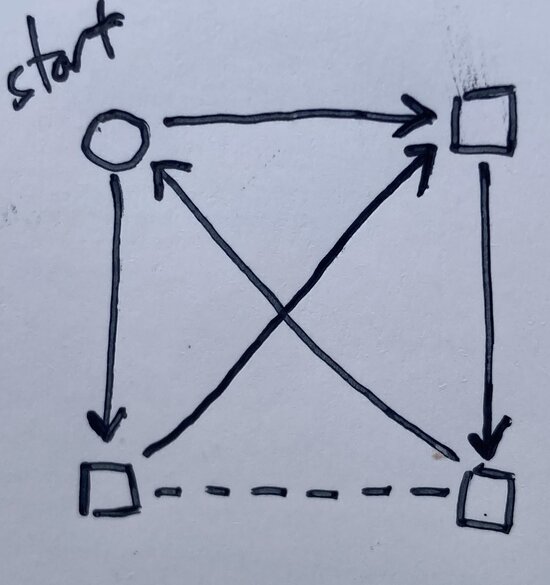
I use four smaller needles to hold the two pieces of fabric in a consistent position and as reference points for the stitching.
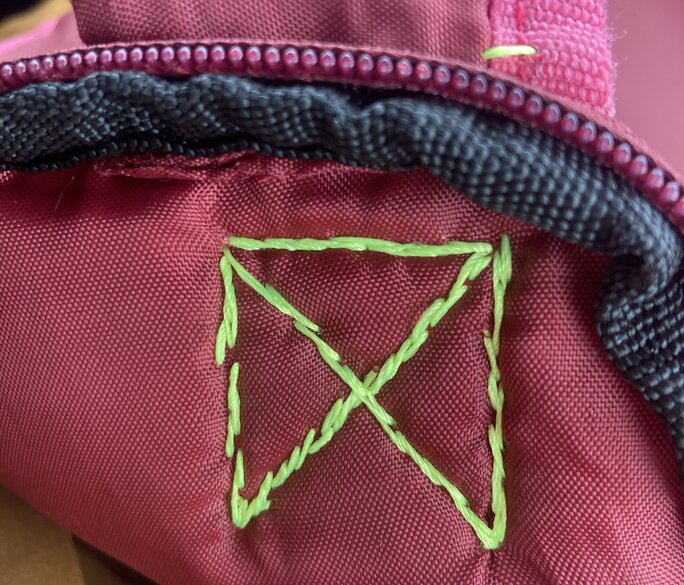
Sewing the Bag
In progress
Completed
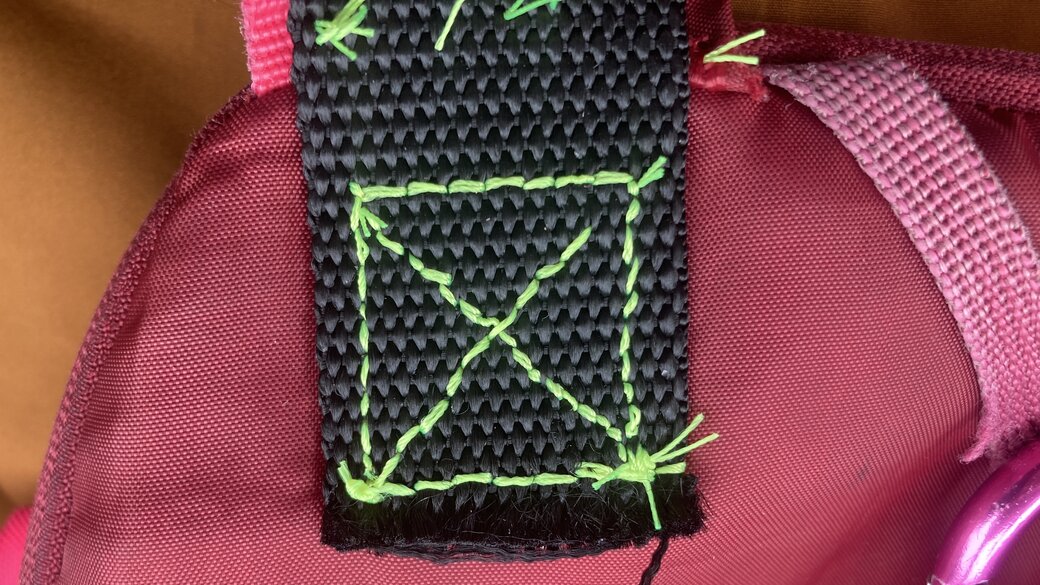
Sewing the Strap
In progress
Finishing Touches
The Result